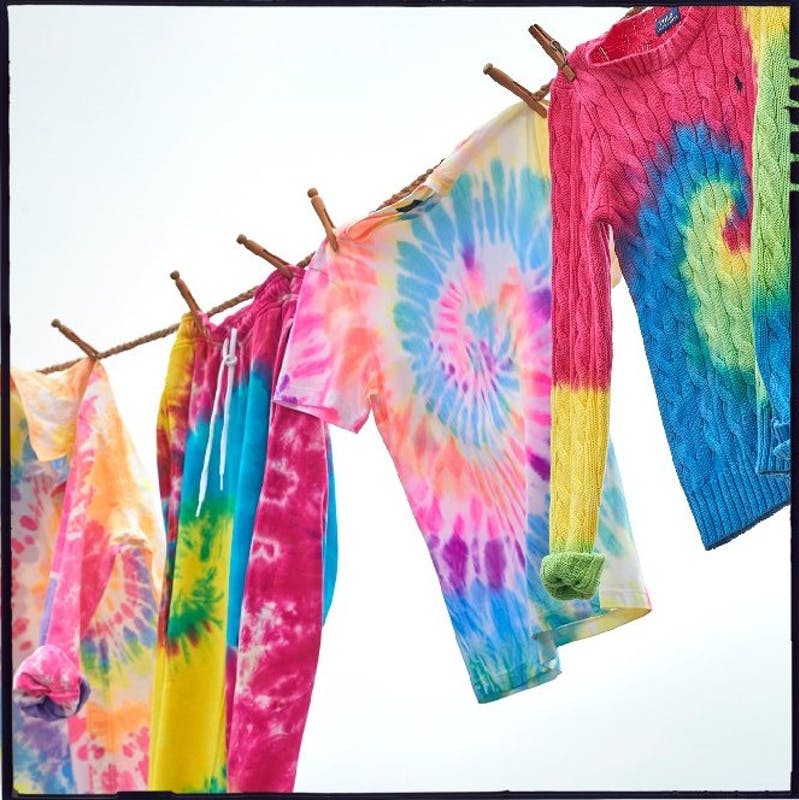
Tie-Dye: Not Just for Summer Camp Anymore
Here’s how to master the art of tie-dye:
Step 1: Get Your Kit Together
Most craft stores sell dye kits with everything you need to get going—including cotton shirts (check to see if your local one offers curbside pickup). Or, if you’re looking for a more natural
alternative, the US Forest Service has great information about creating your own natural dyes from local plant life.
Either way, here’s what you’ll need:
Colored dyes
Squeeze bottles
Rubber bands
Rubber gloves
Soda ash and dye fixative, for better color saturation (optional)
Something to dye!
Step 2: Choose Your Canvas
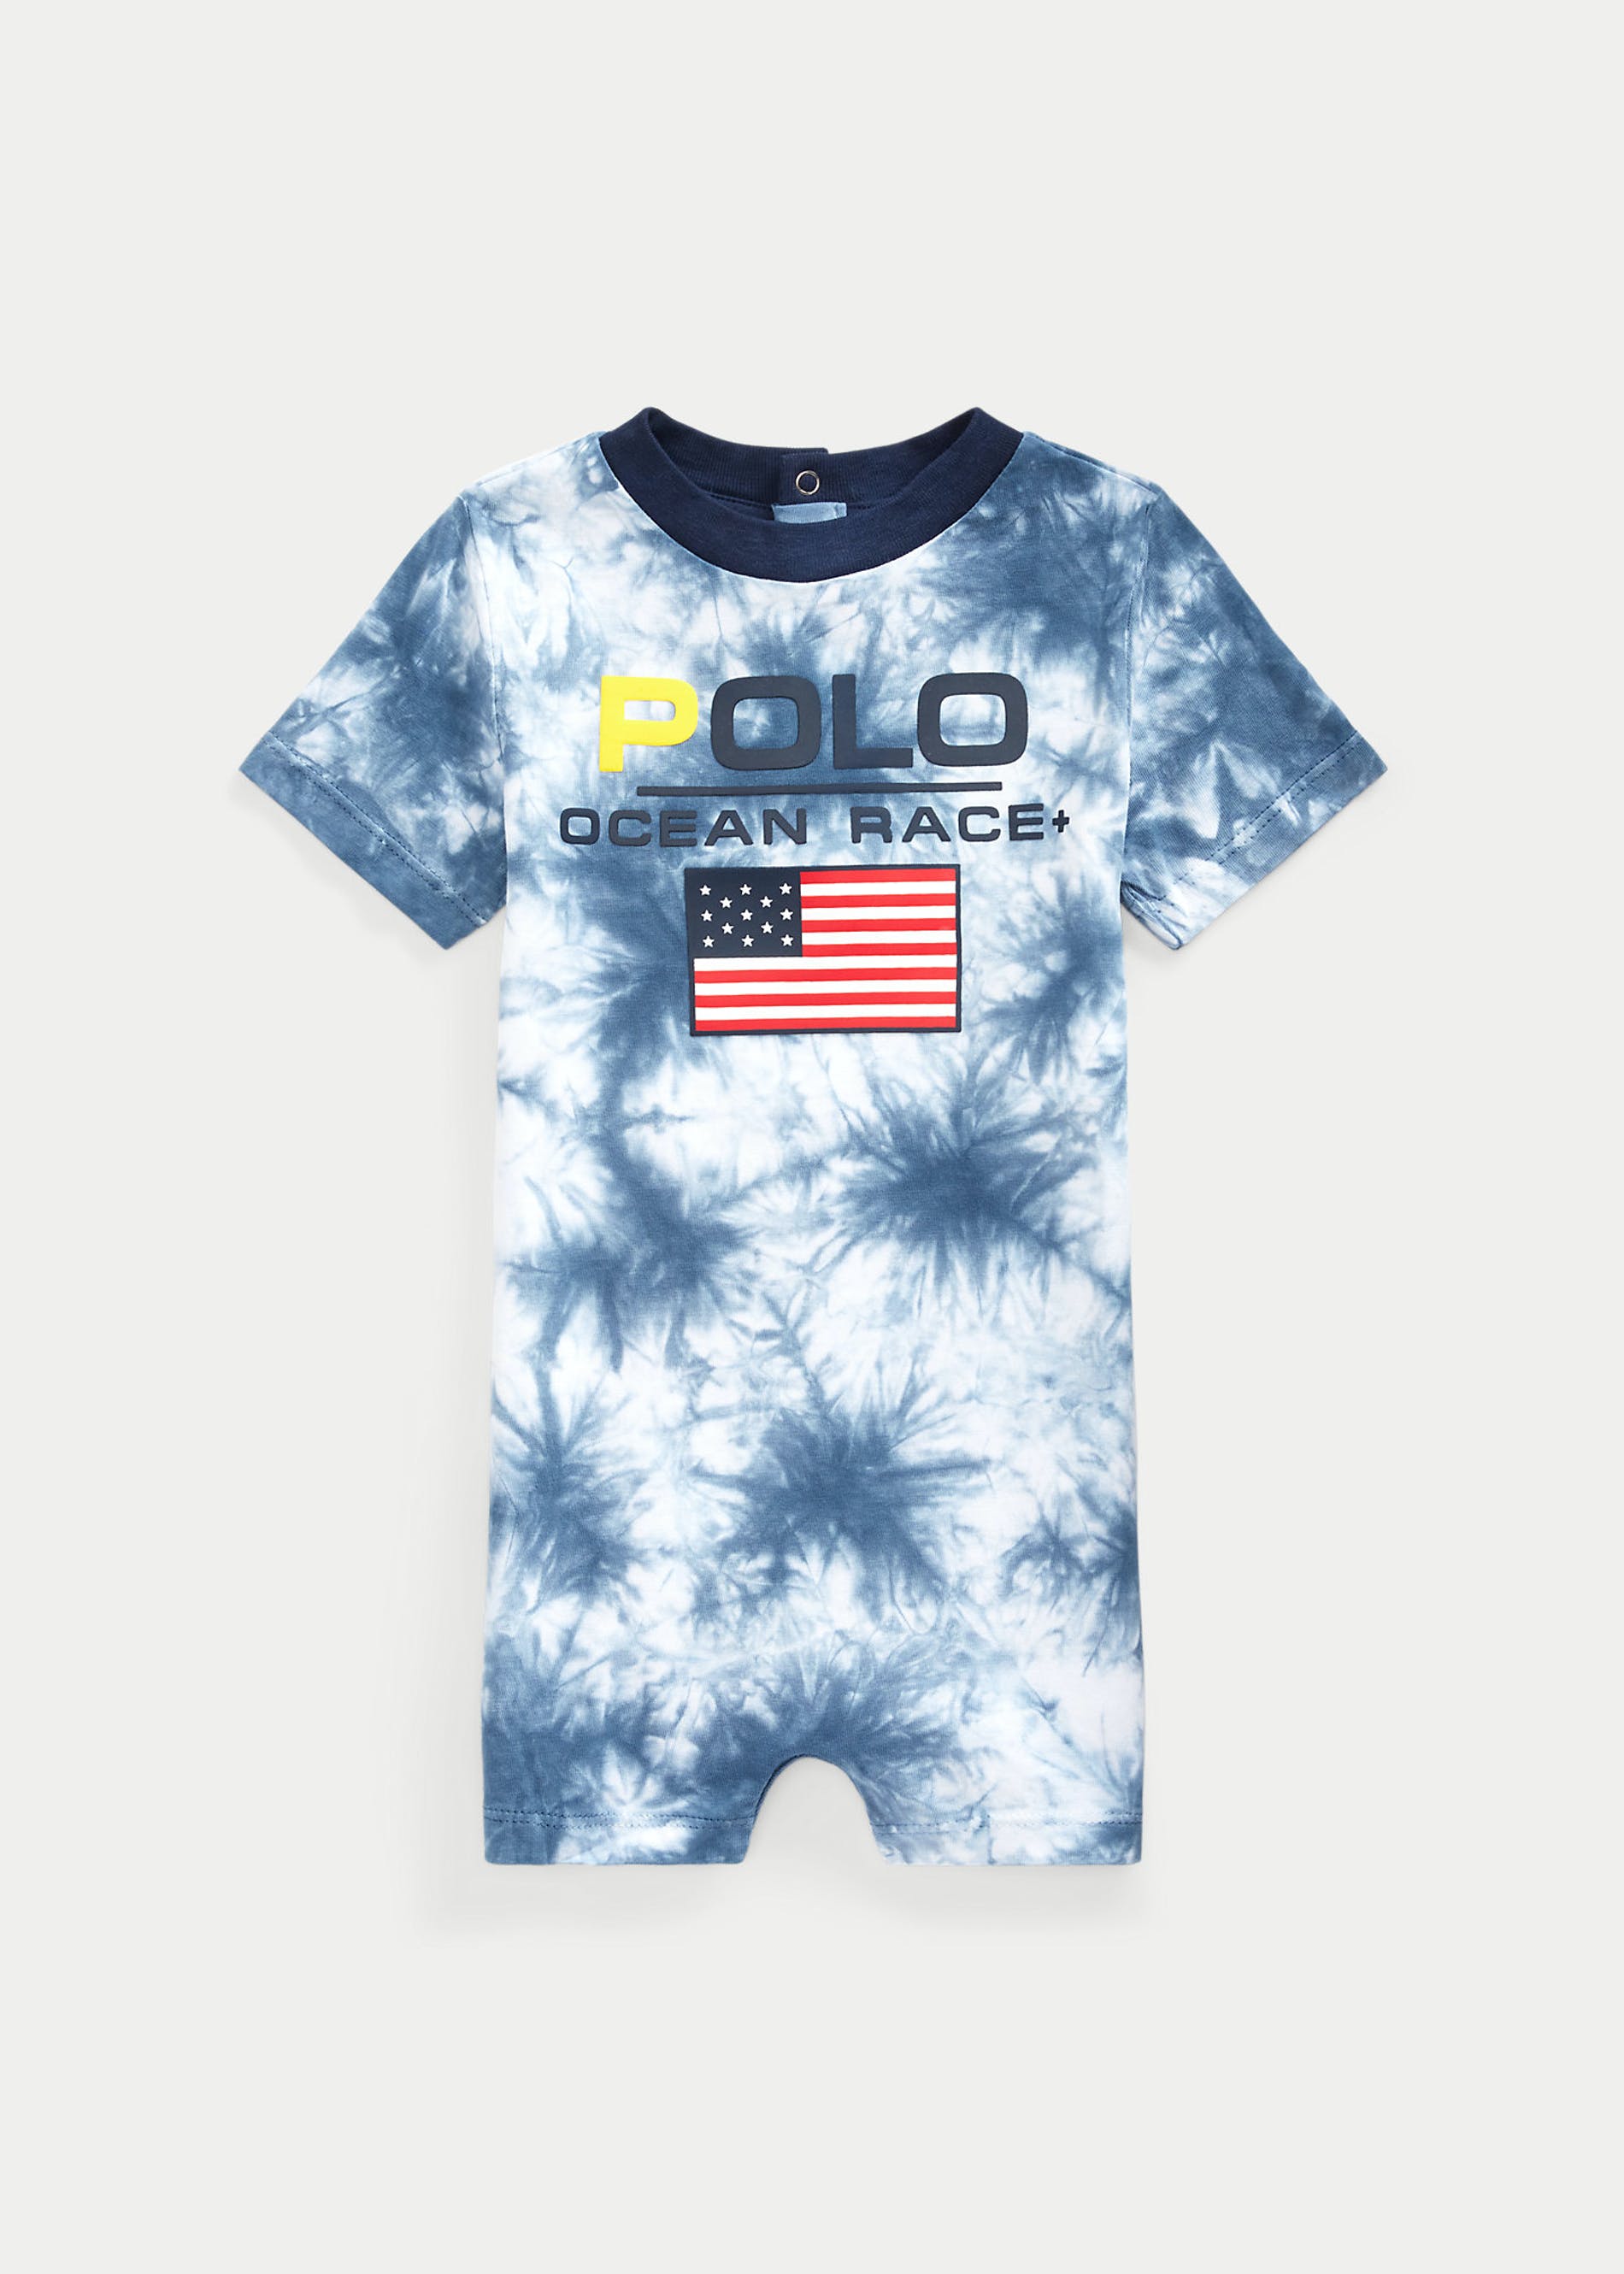
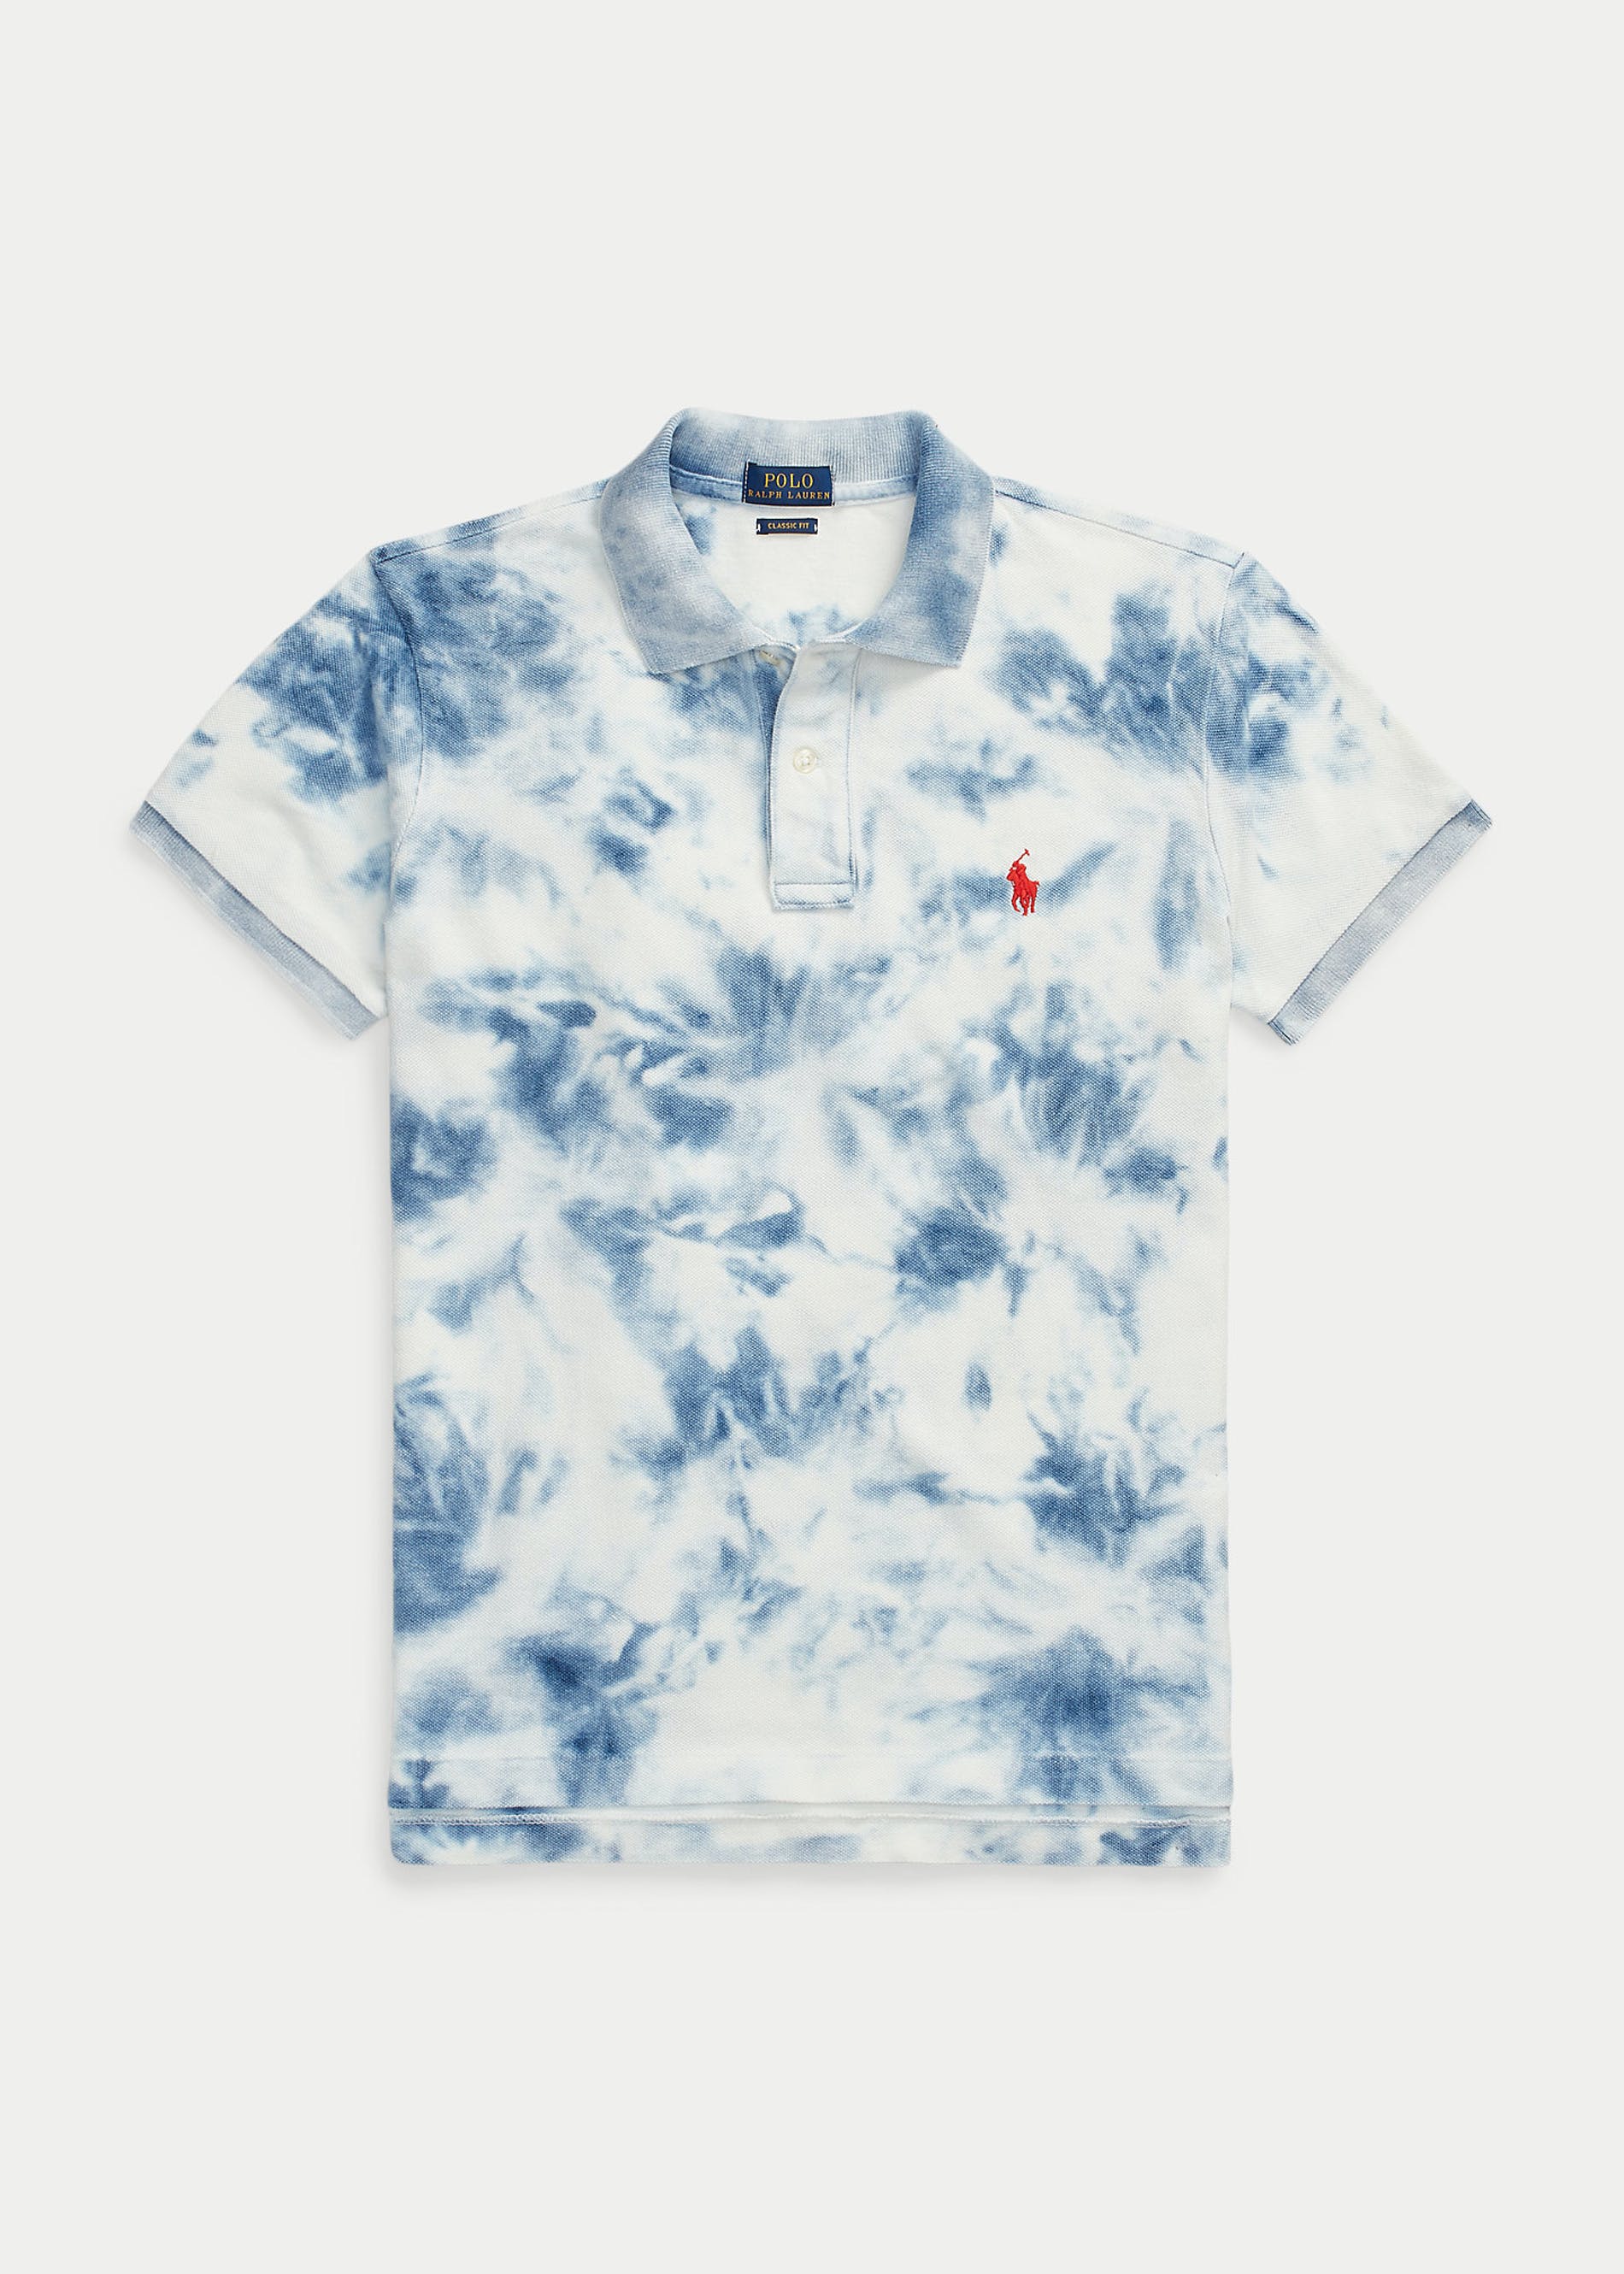
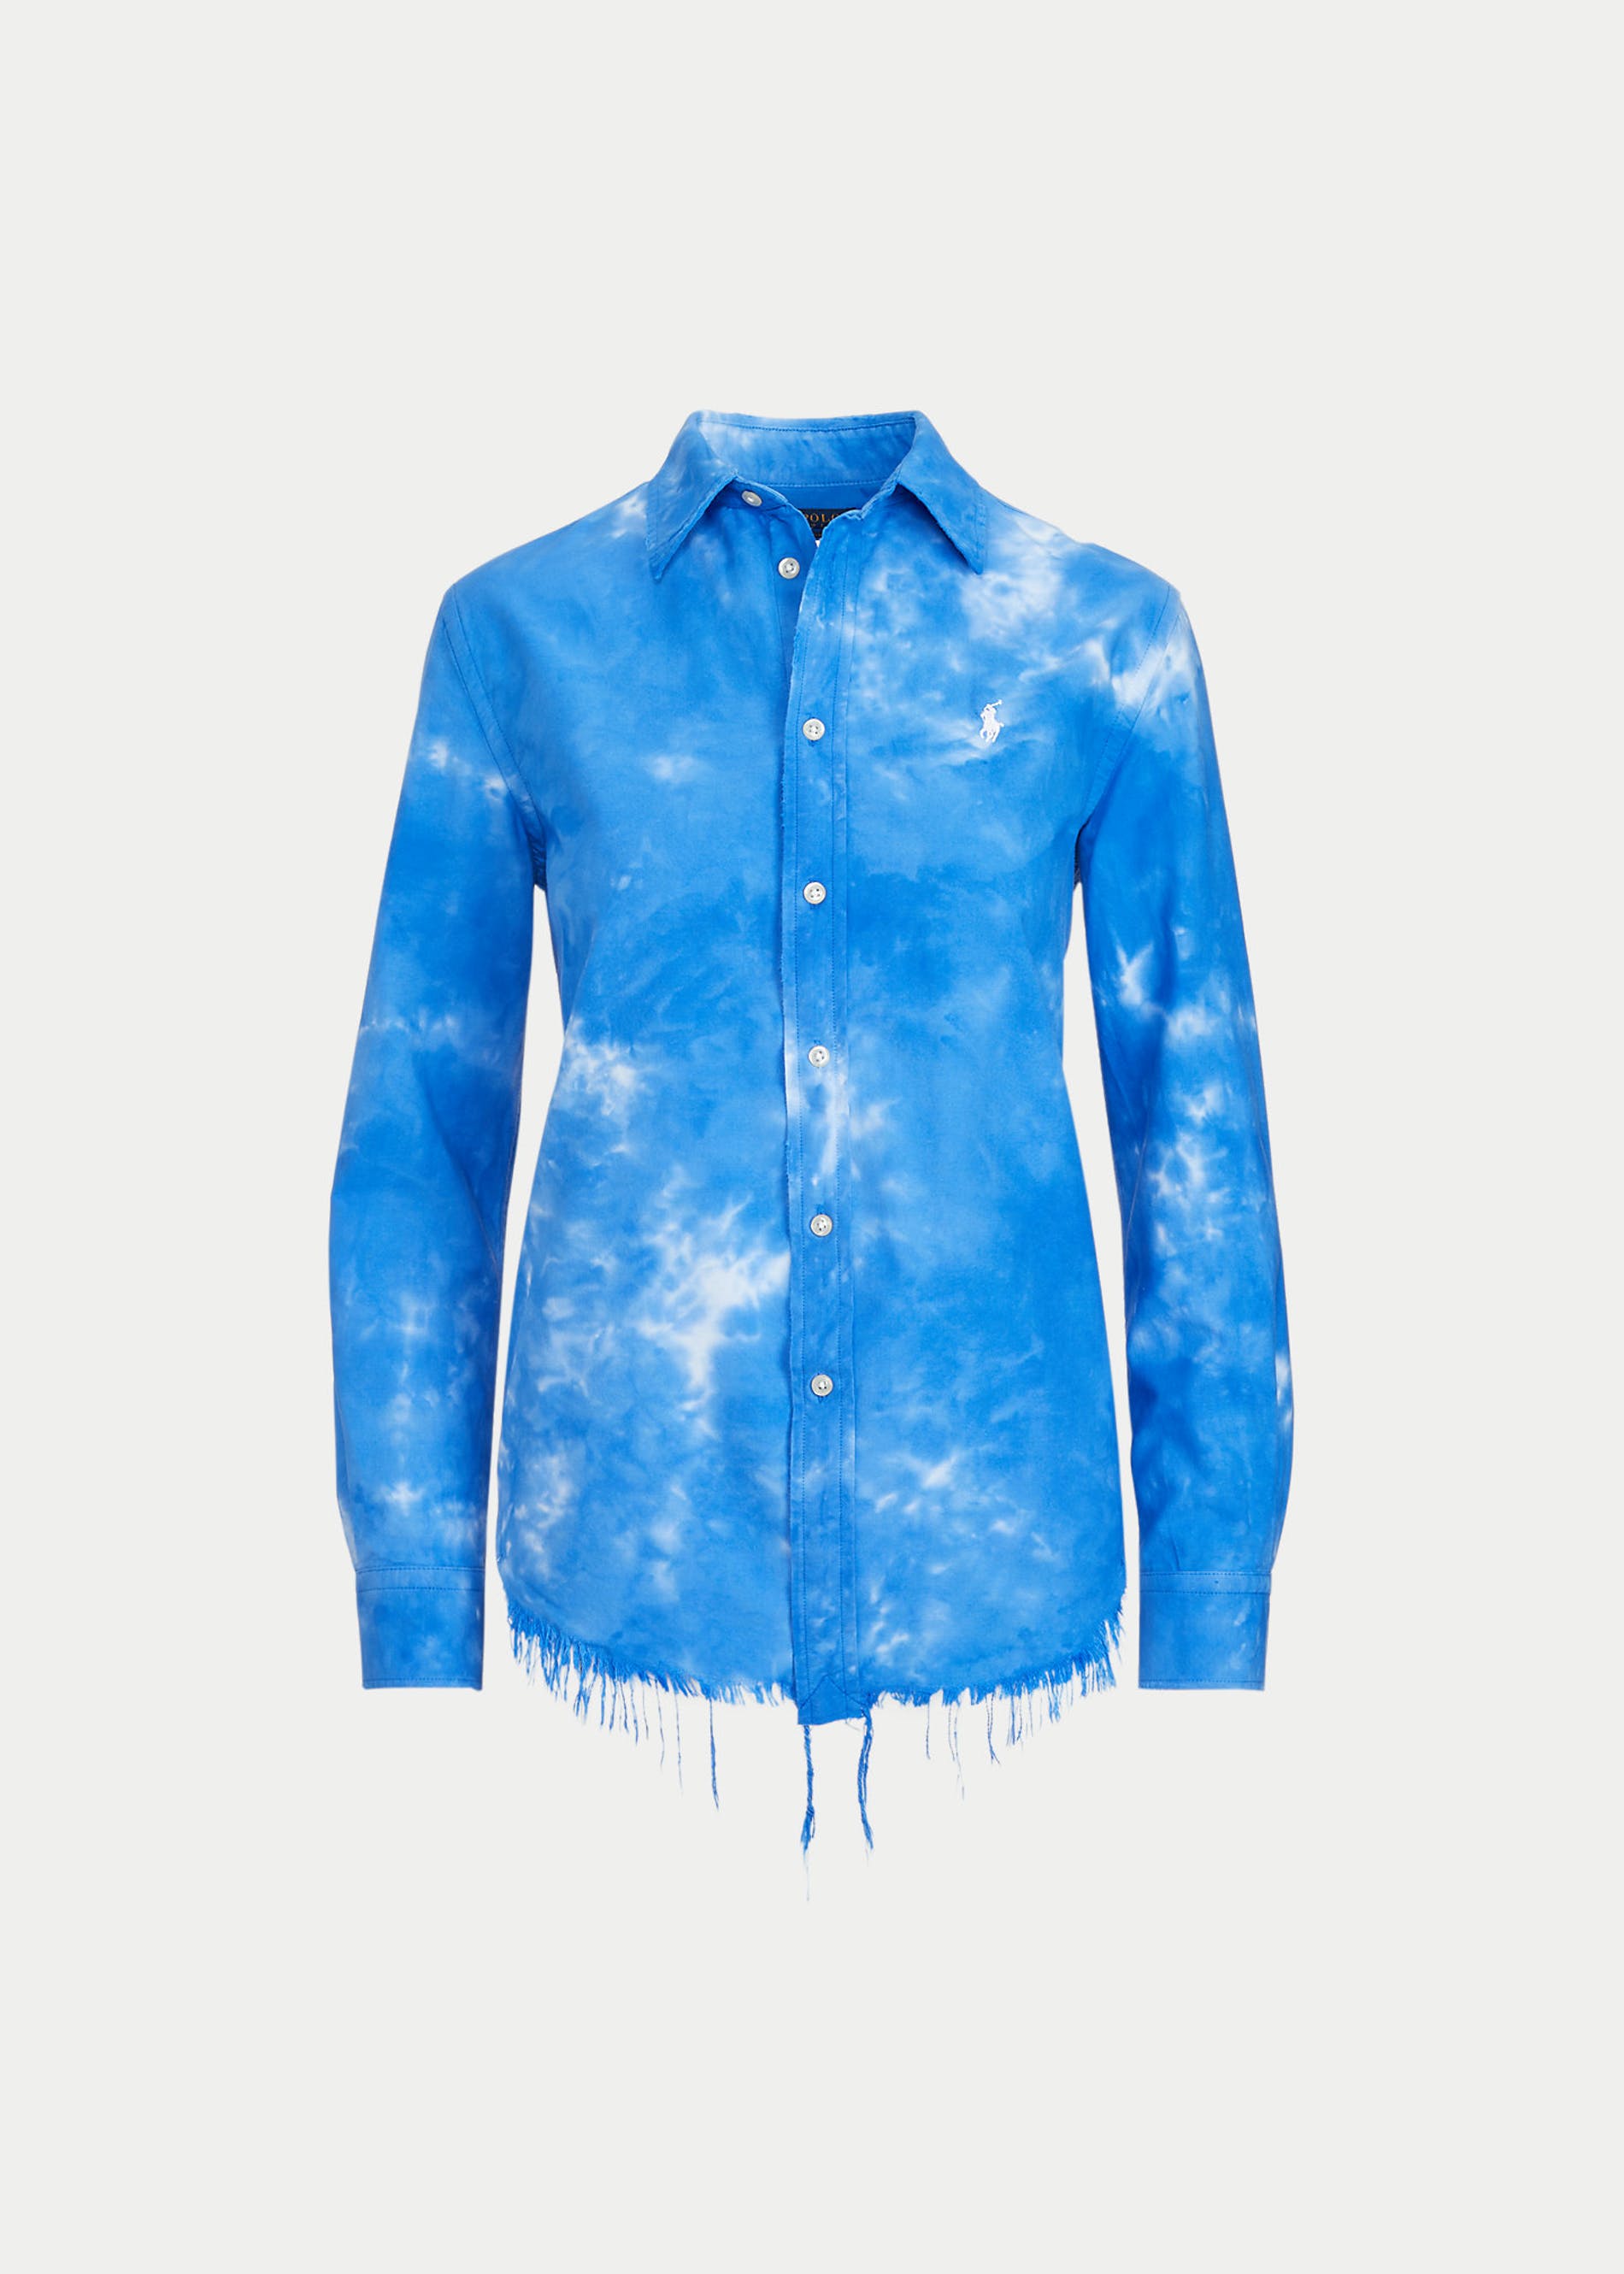
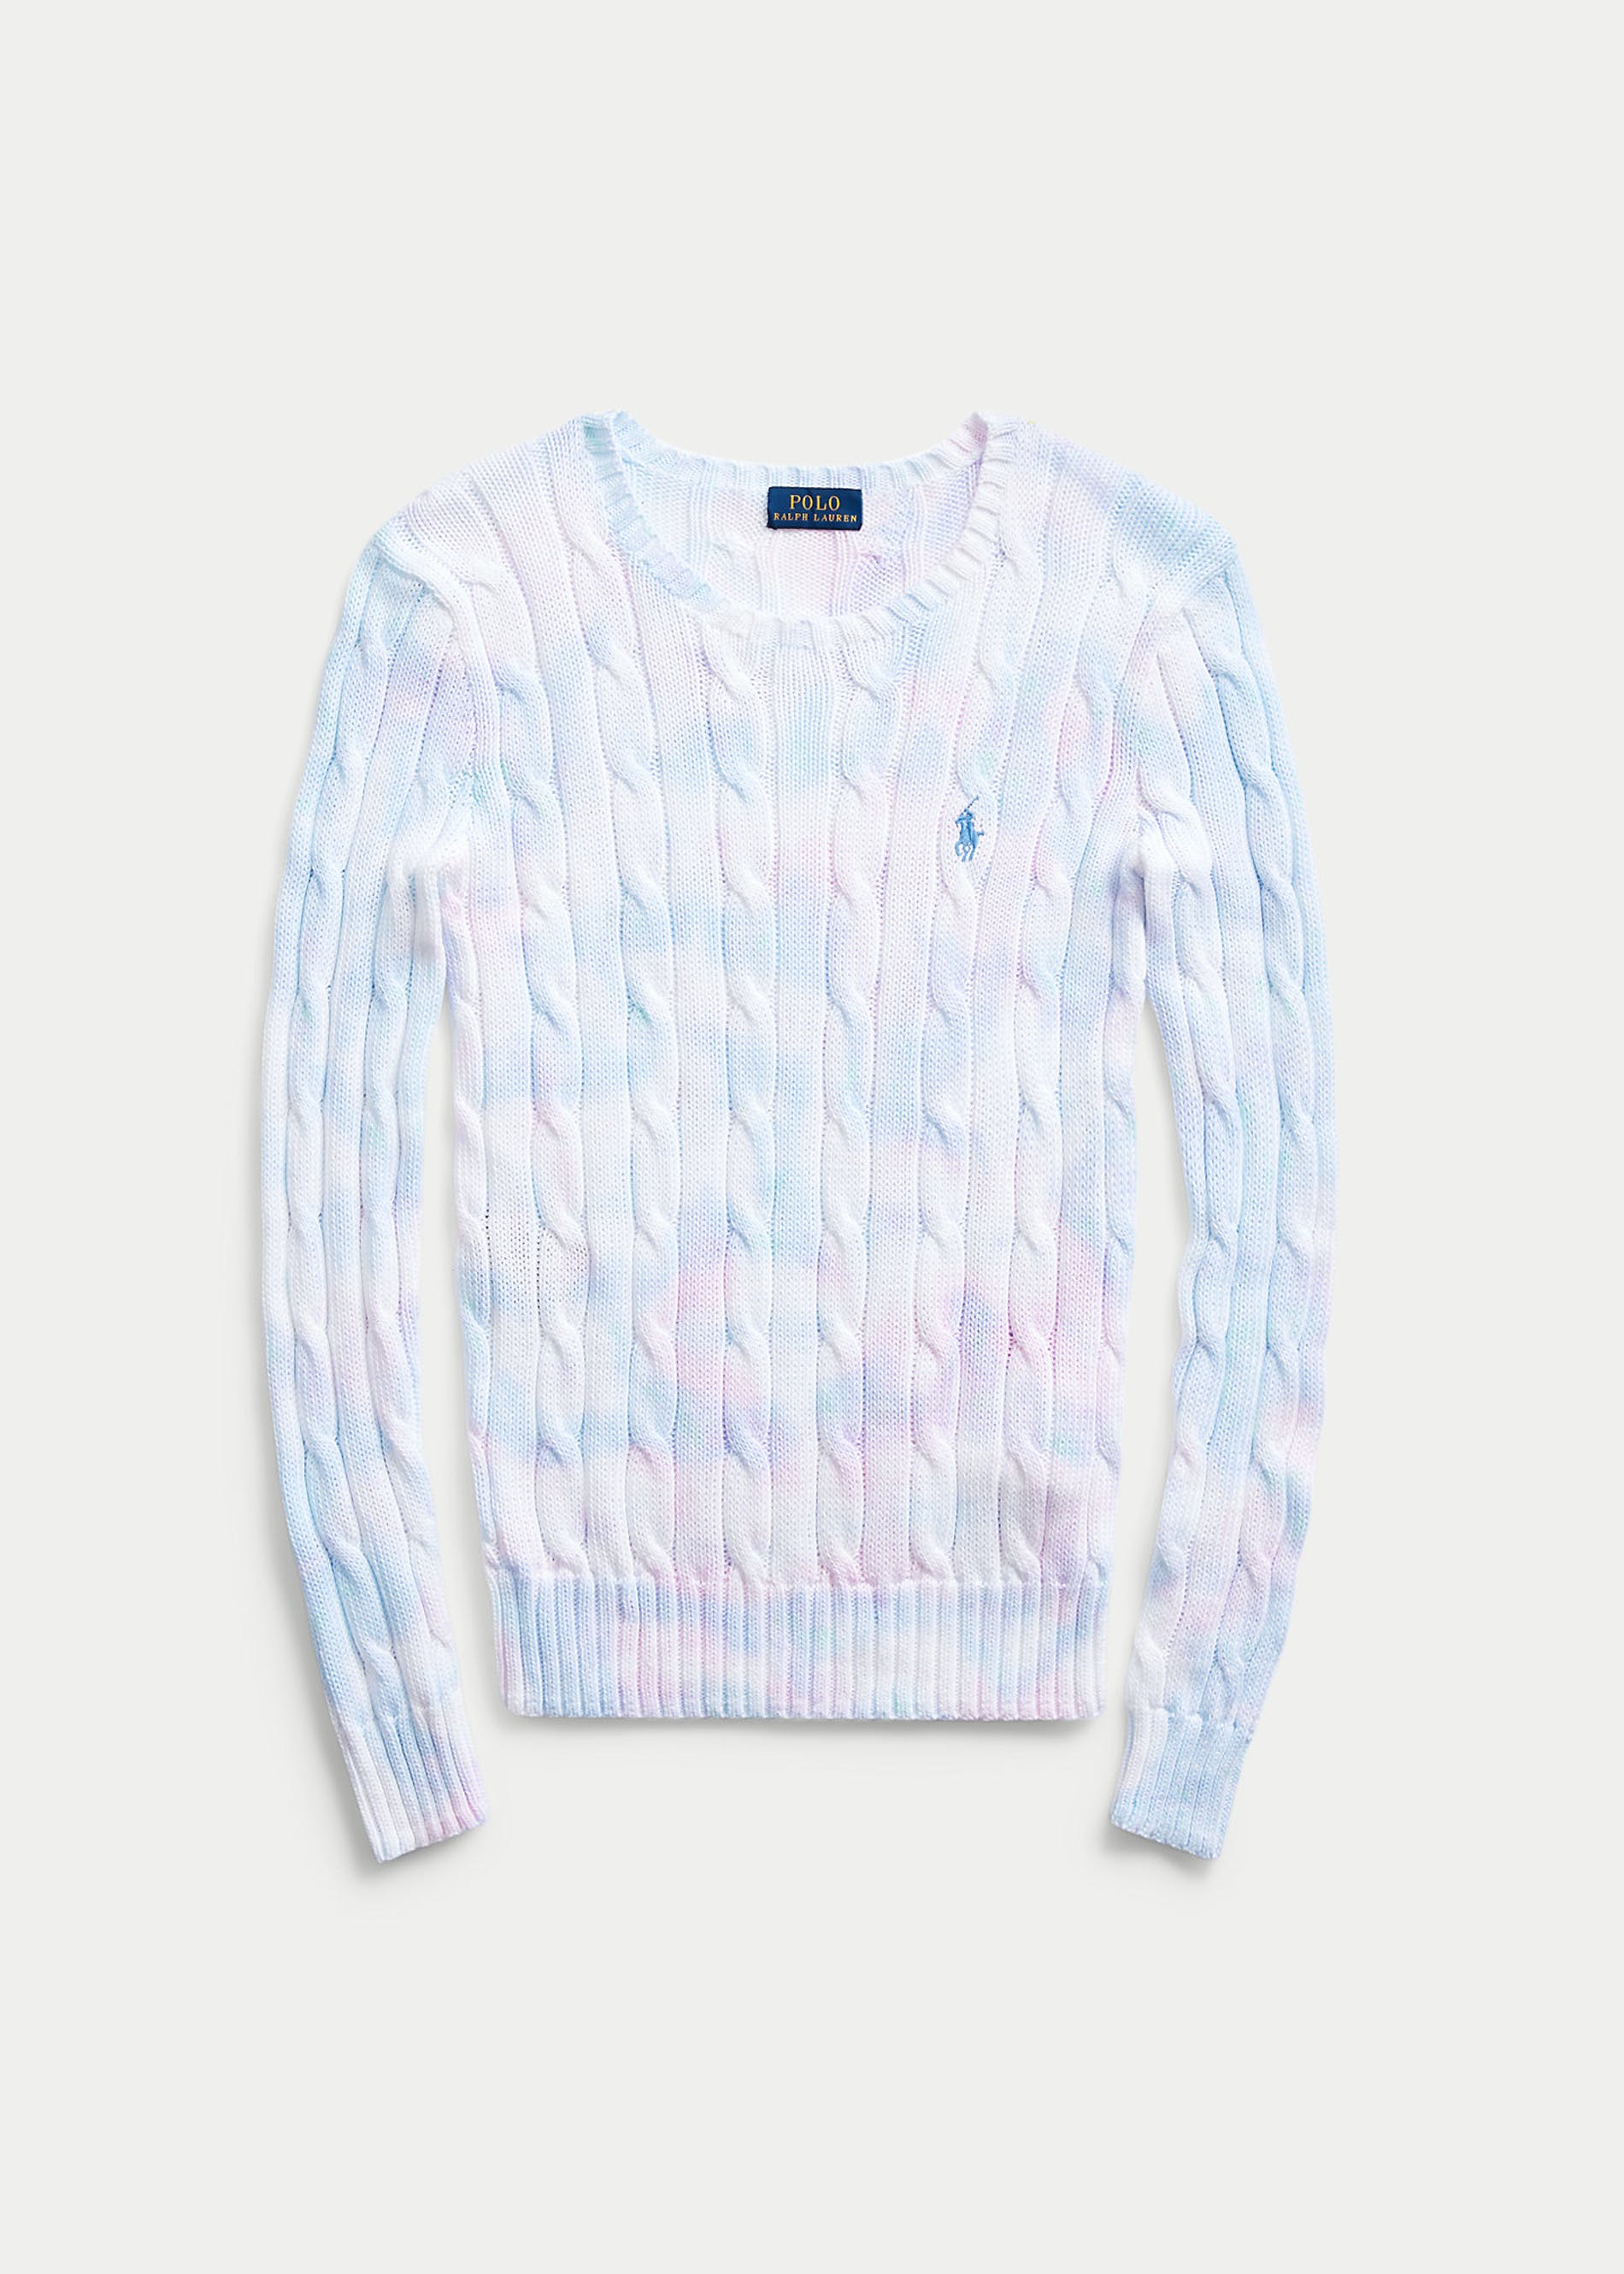
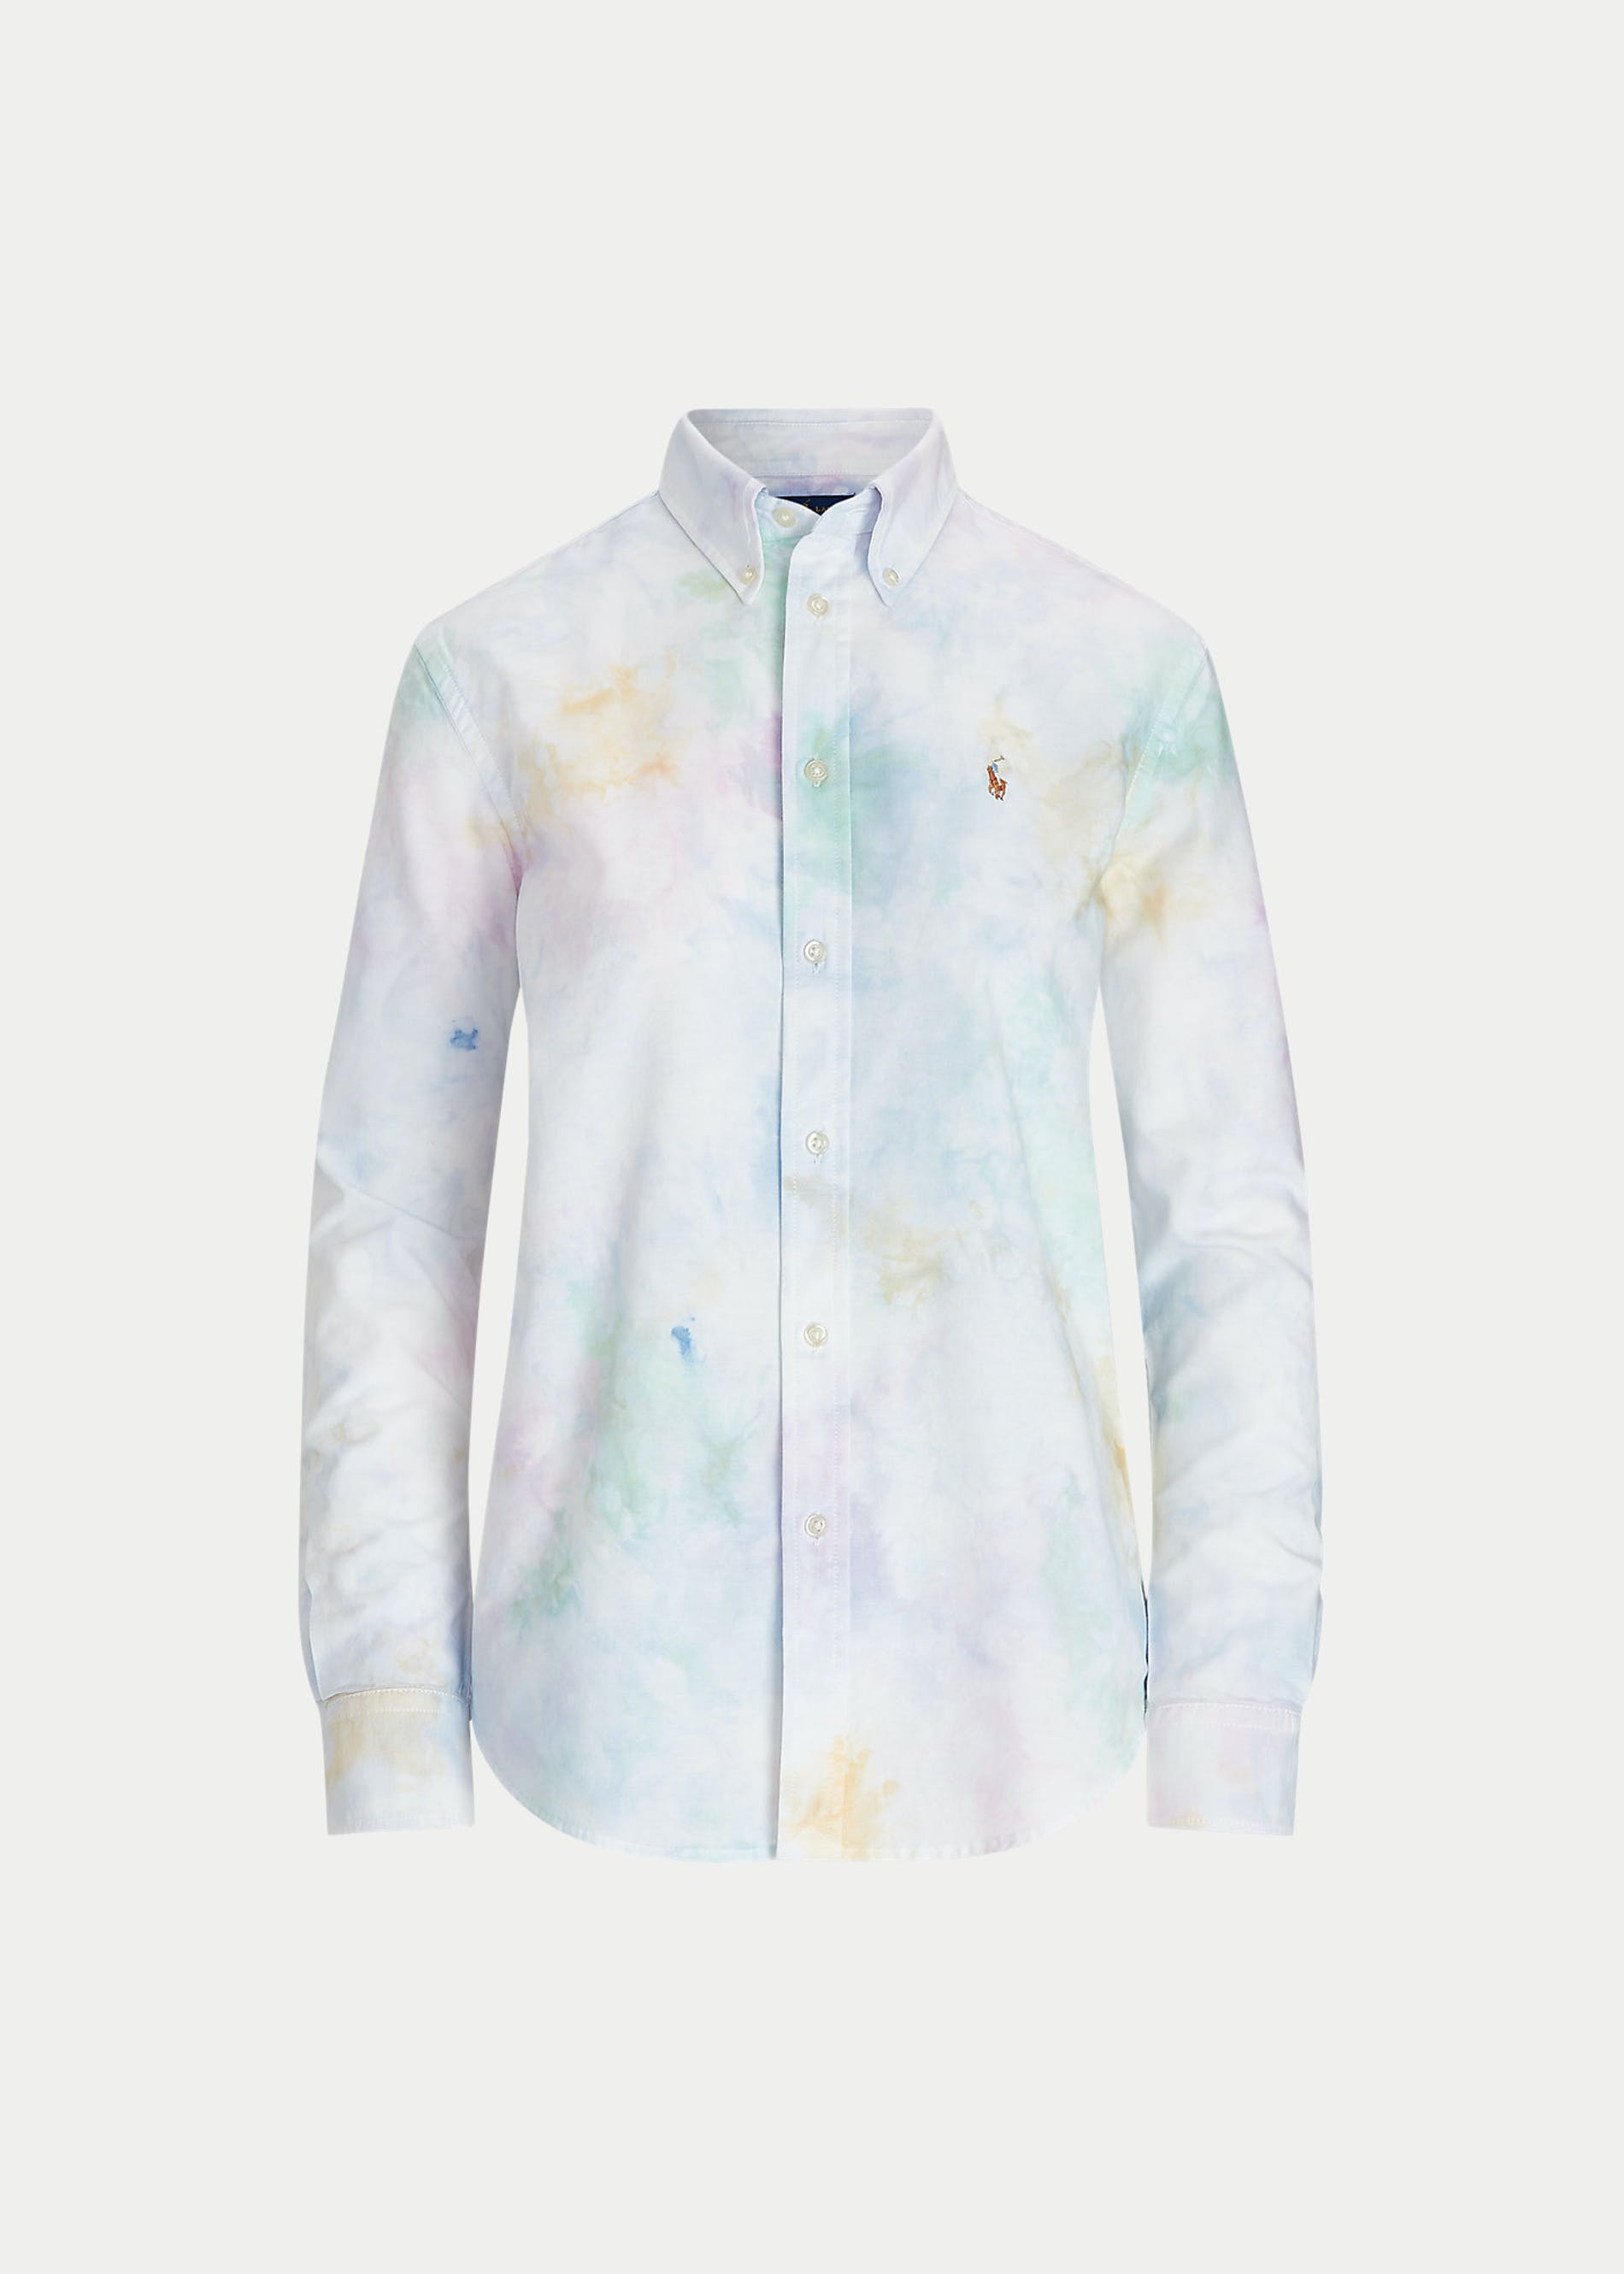
Go with garments made entirely—or at least mostly—from natural fibers like cotton, linen, and wool.
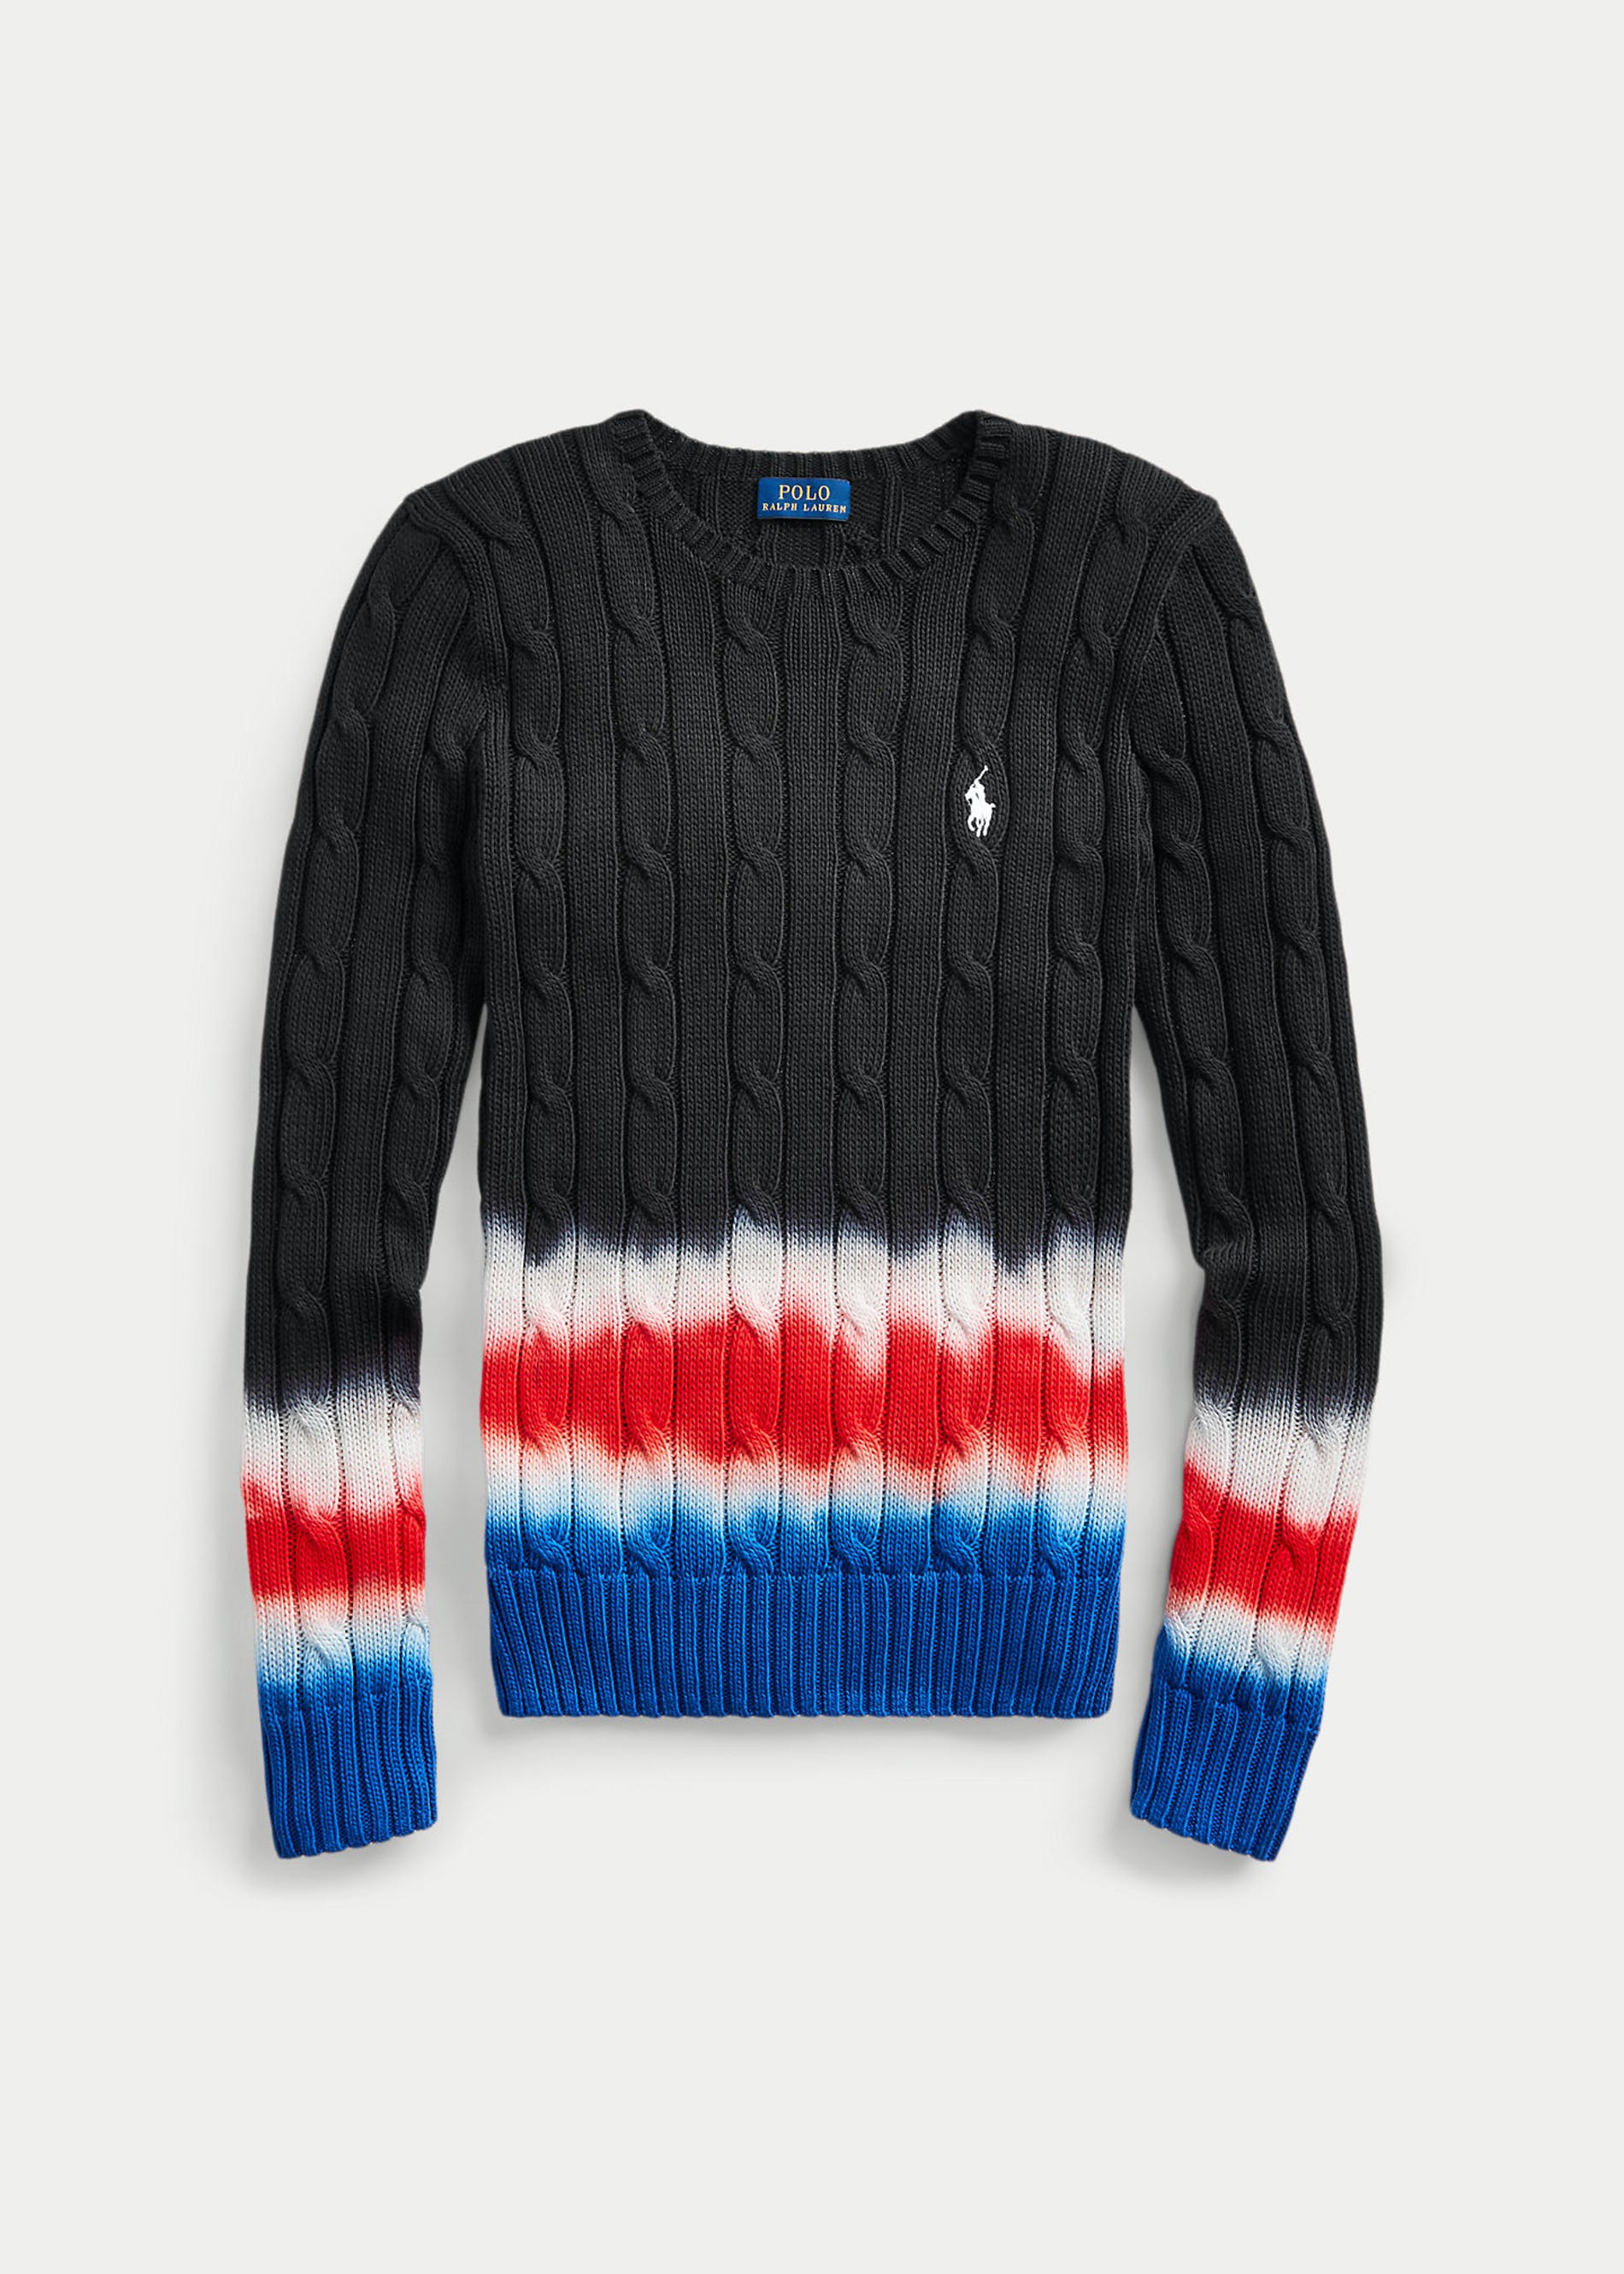
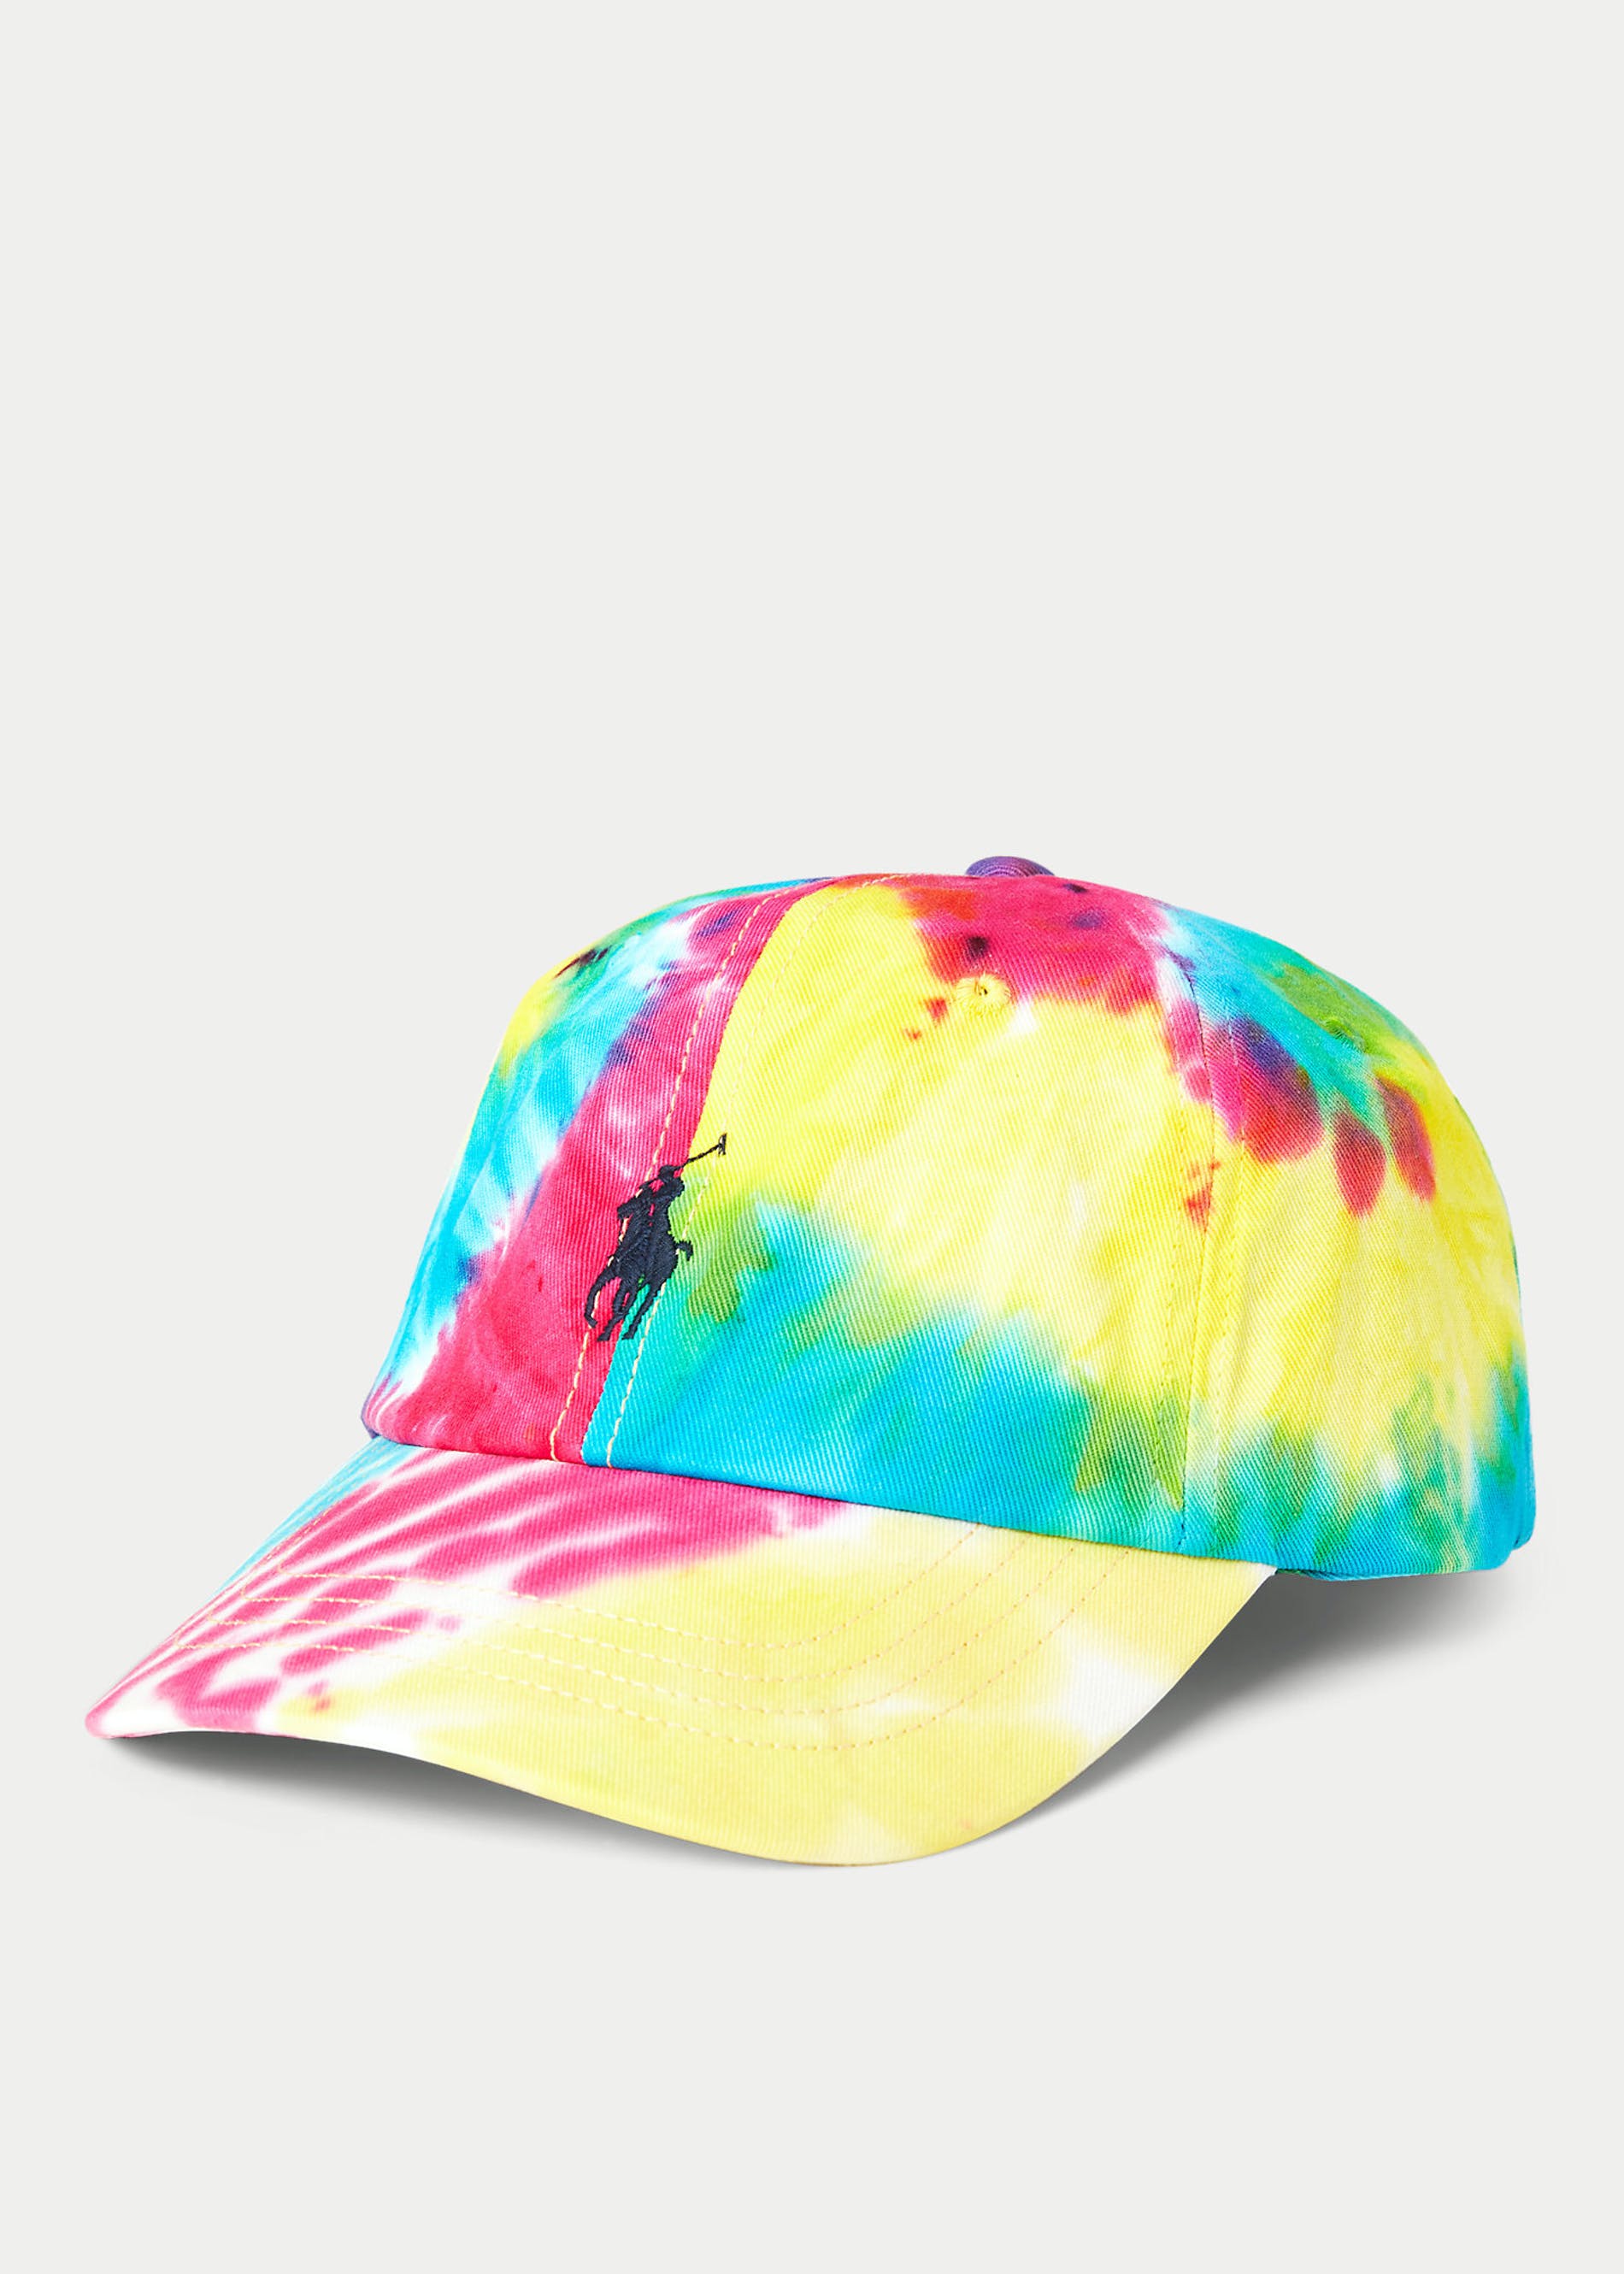
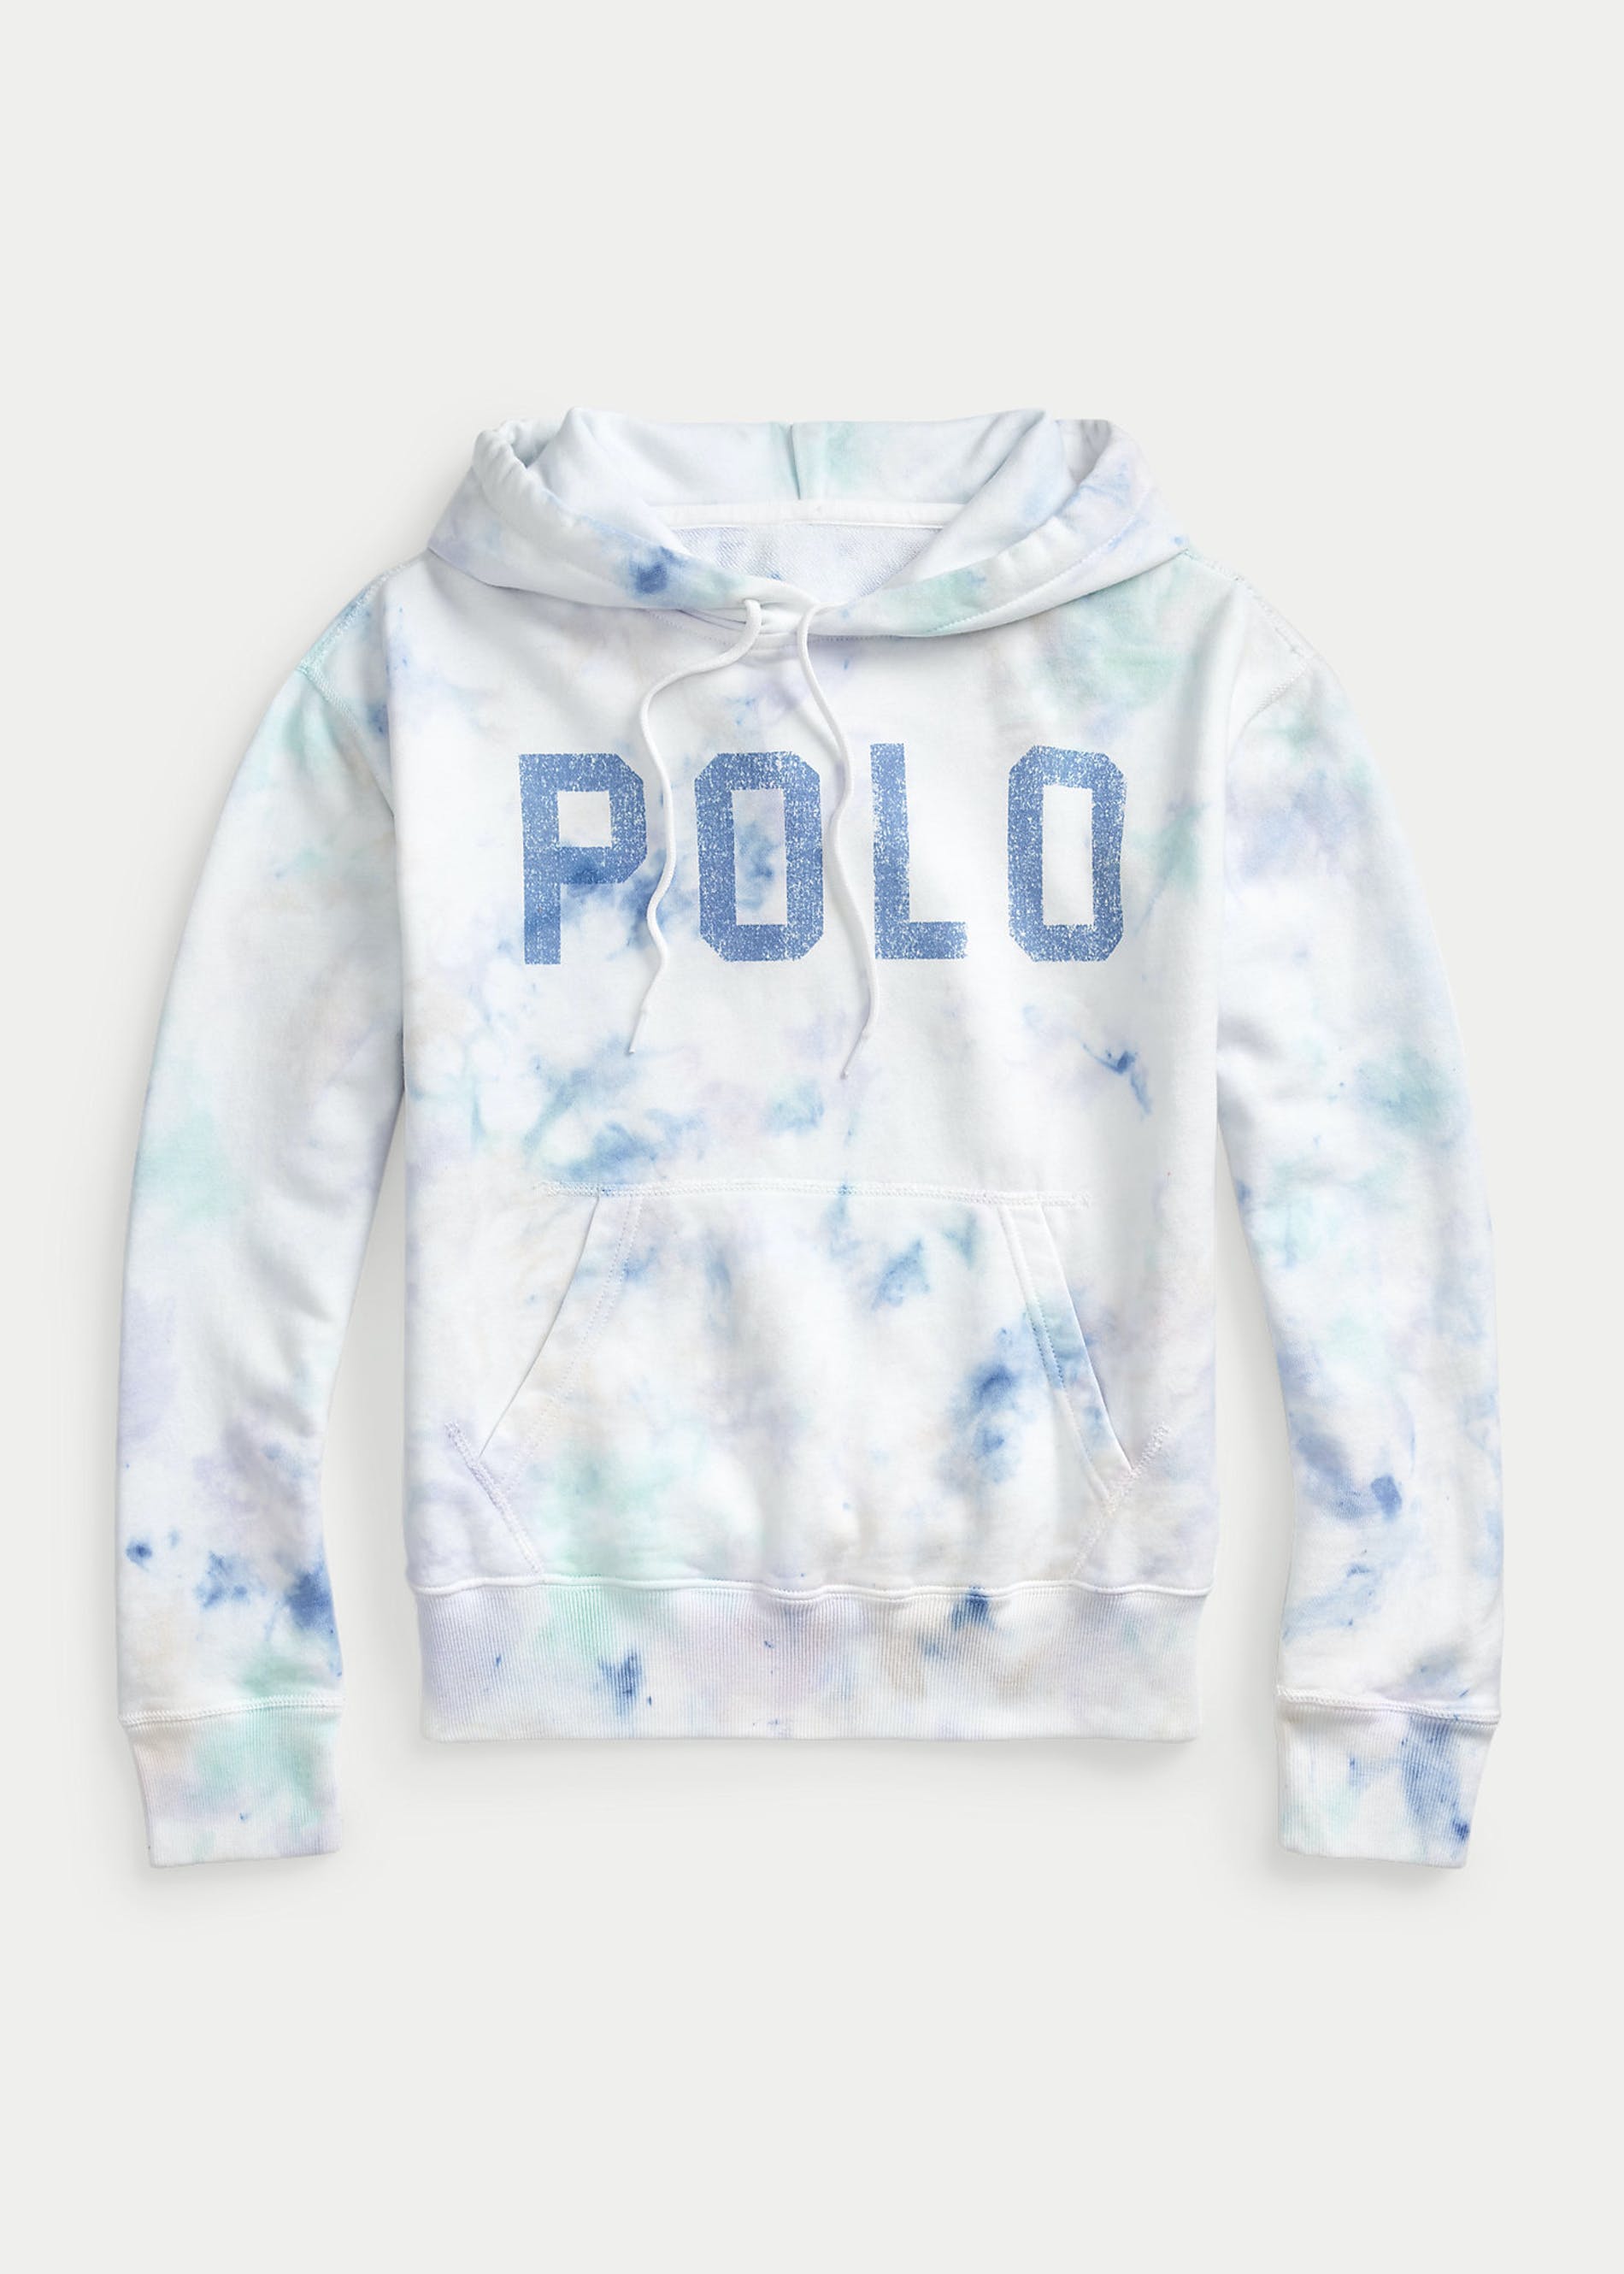
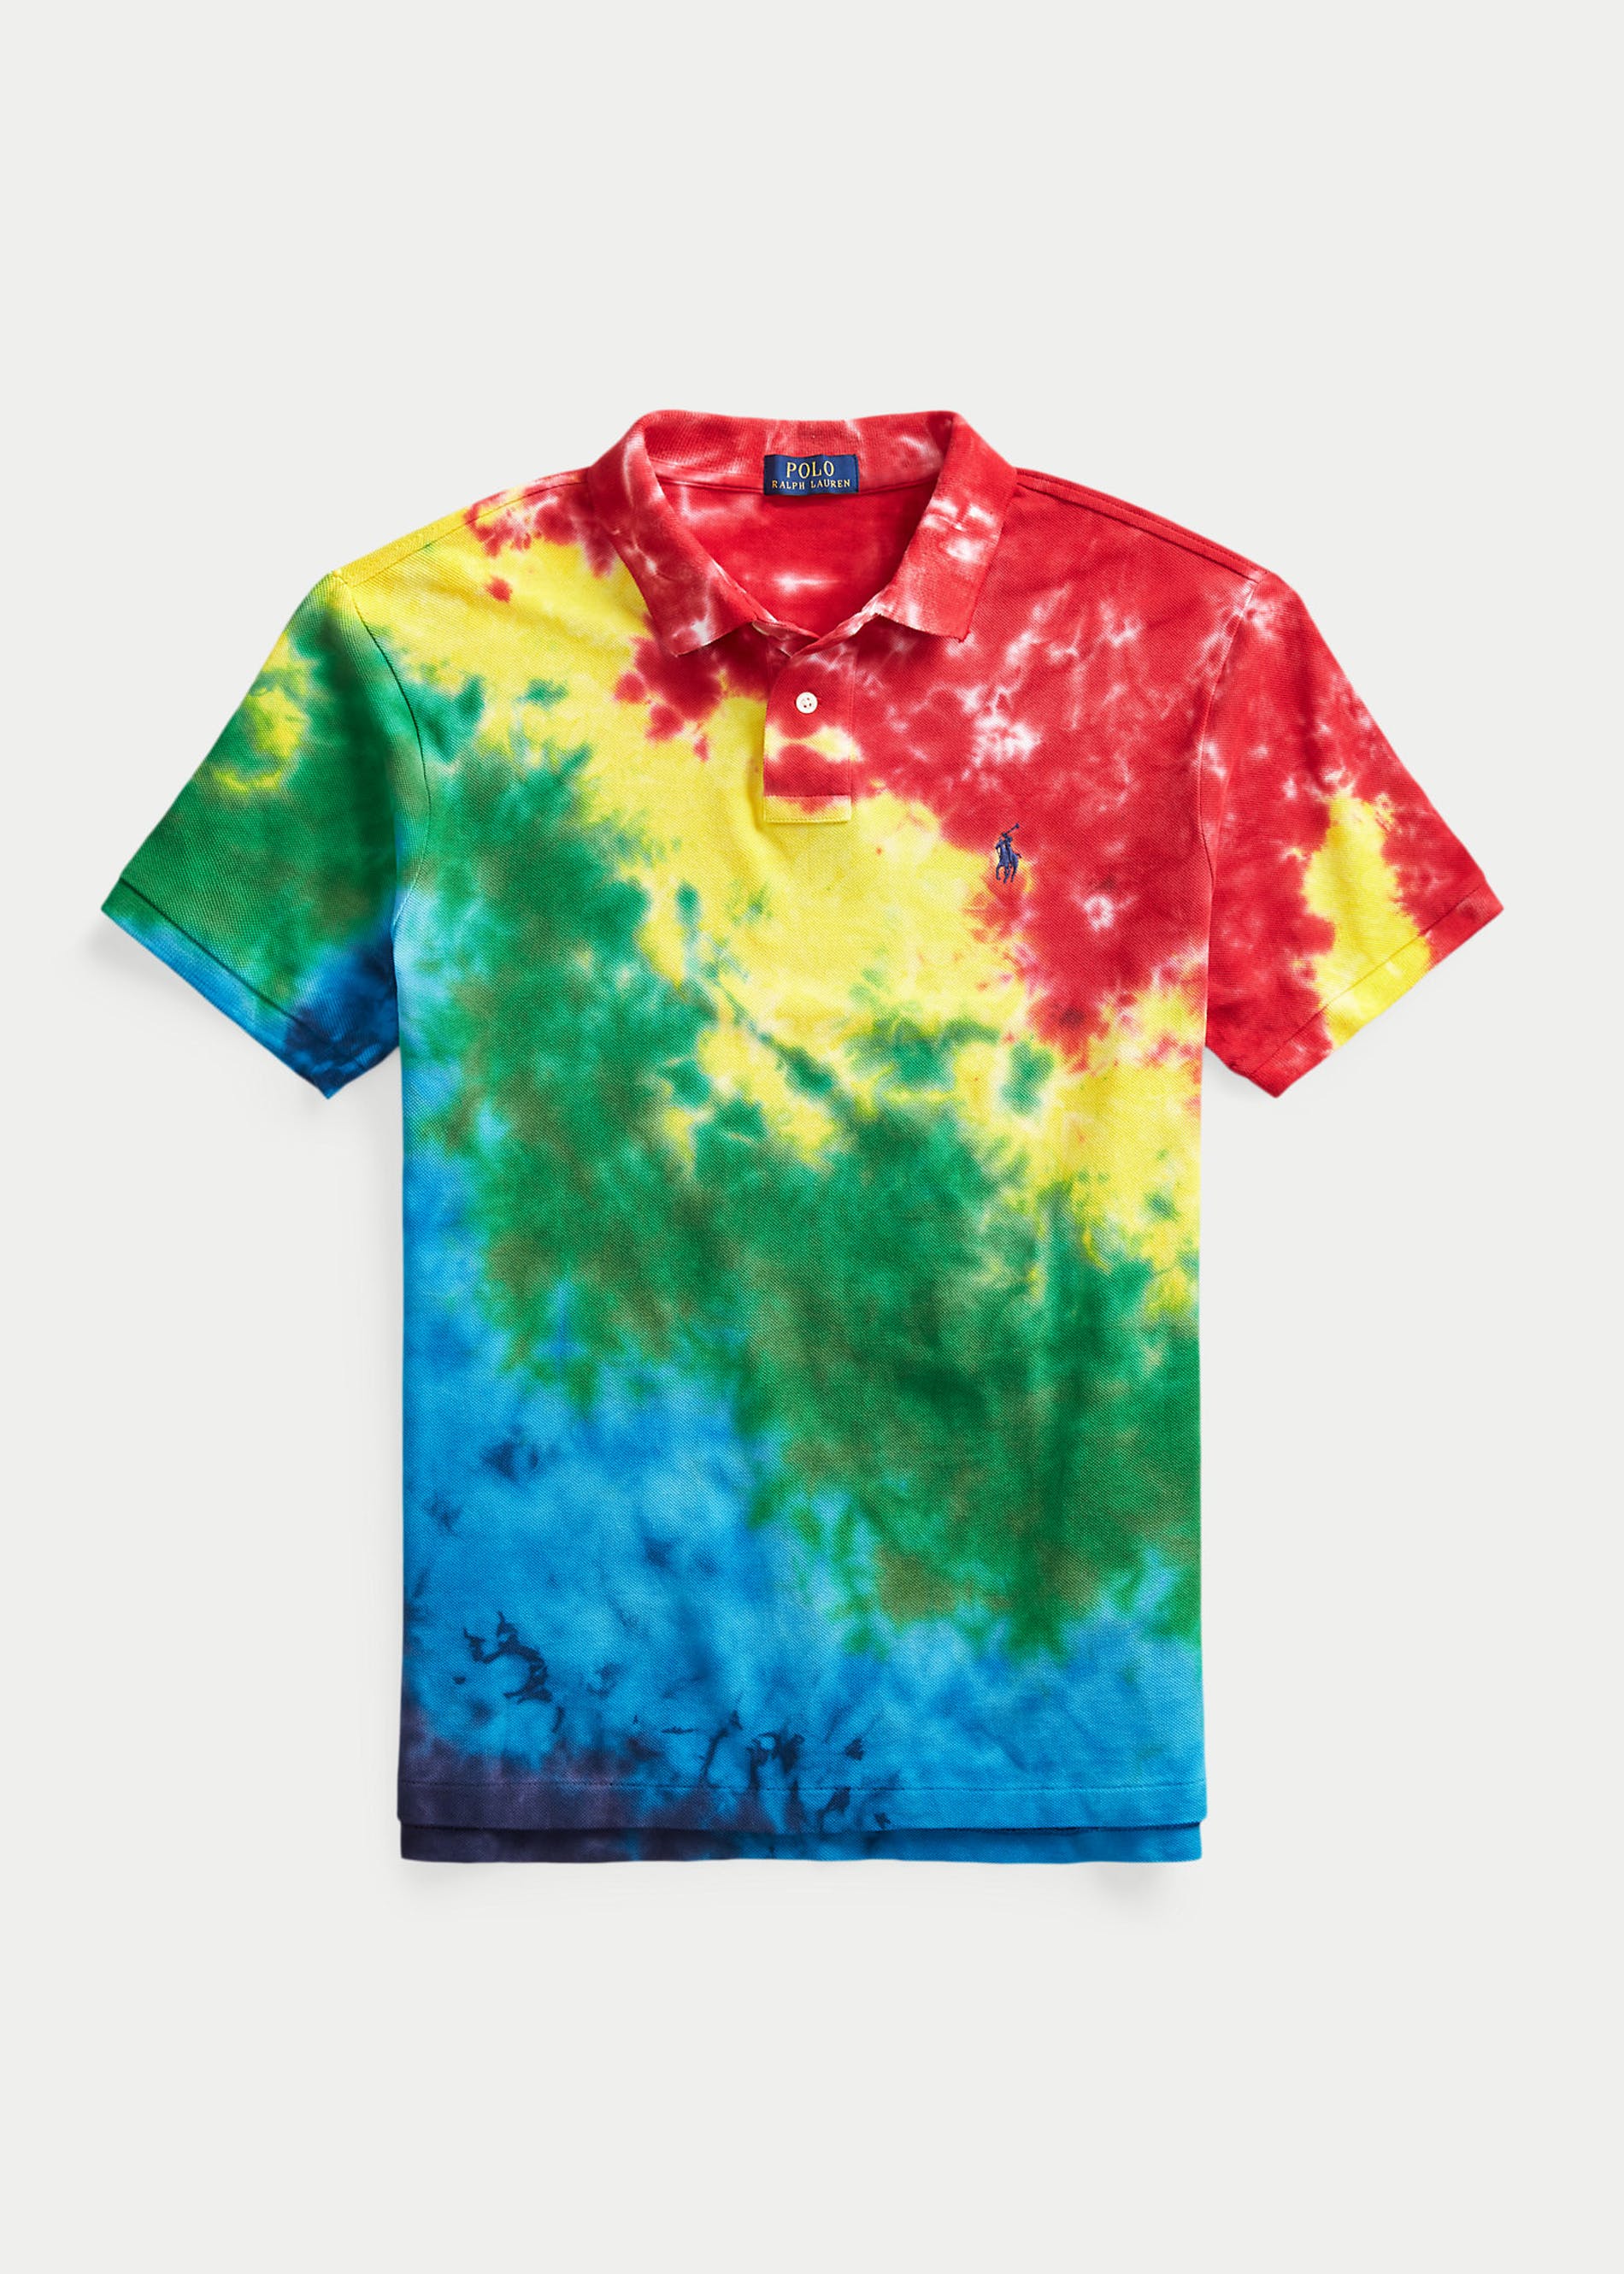
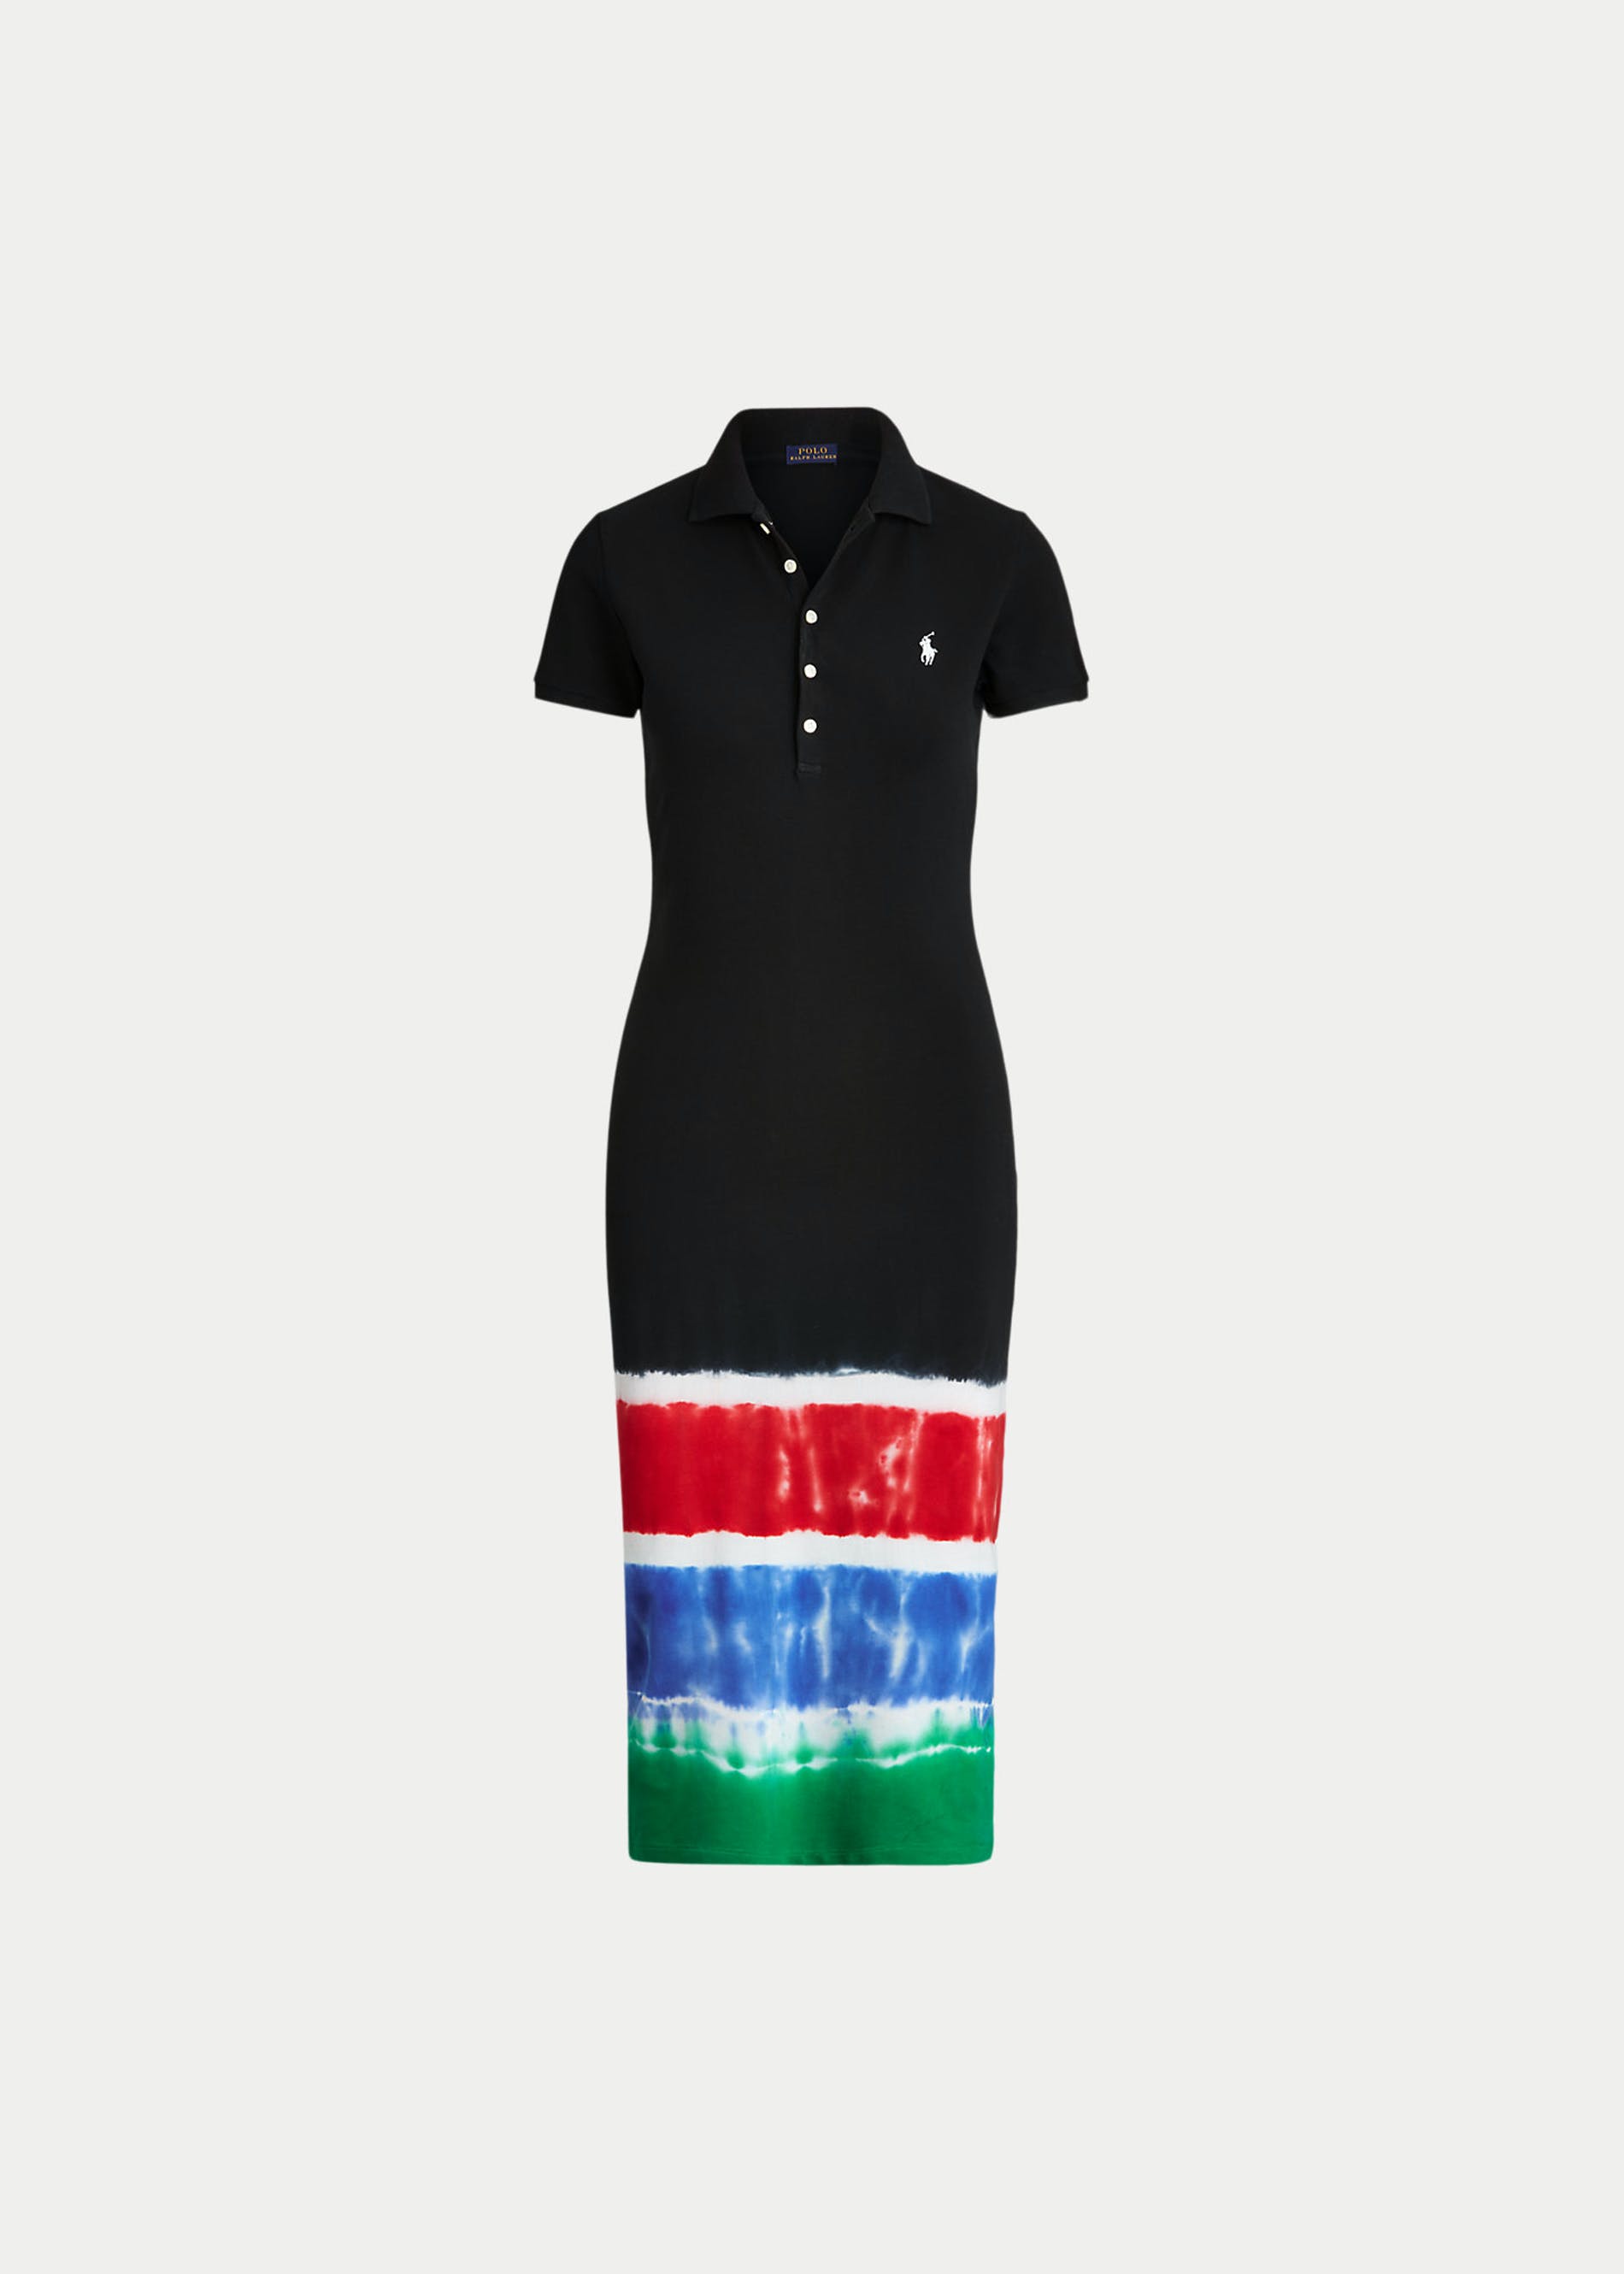
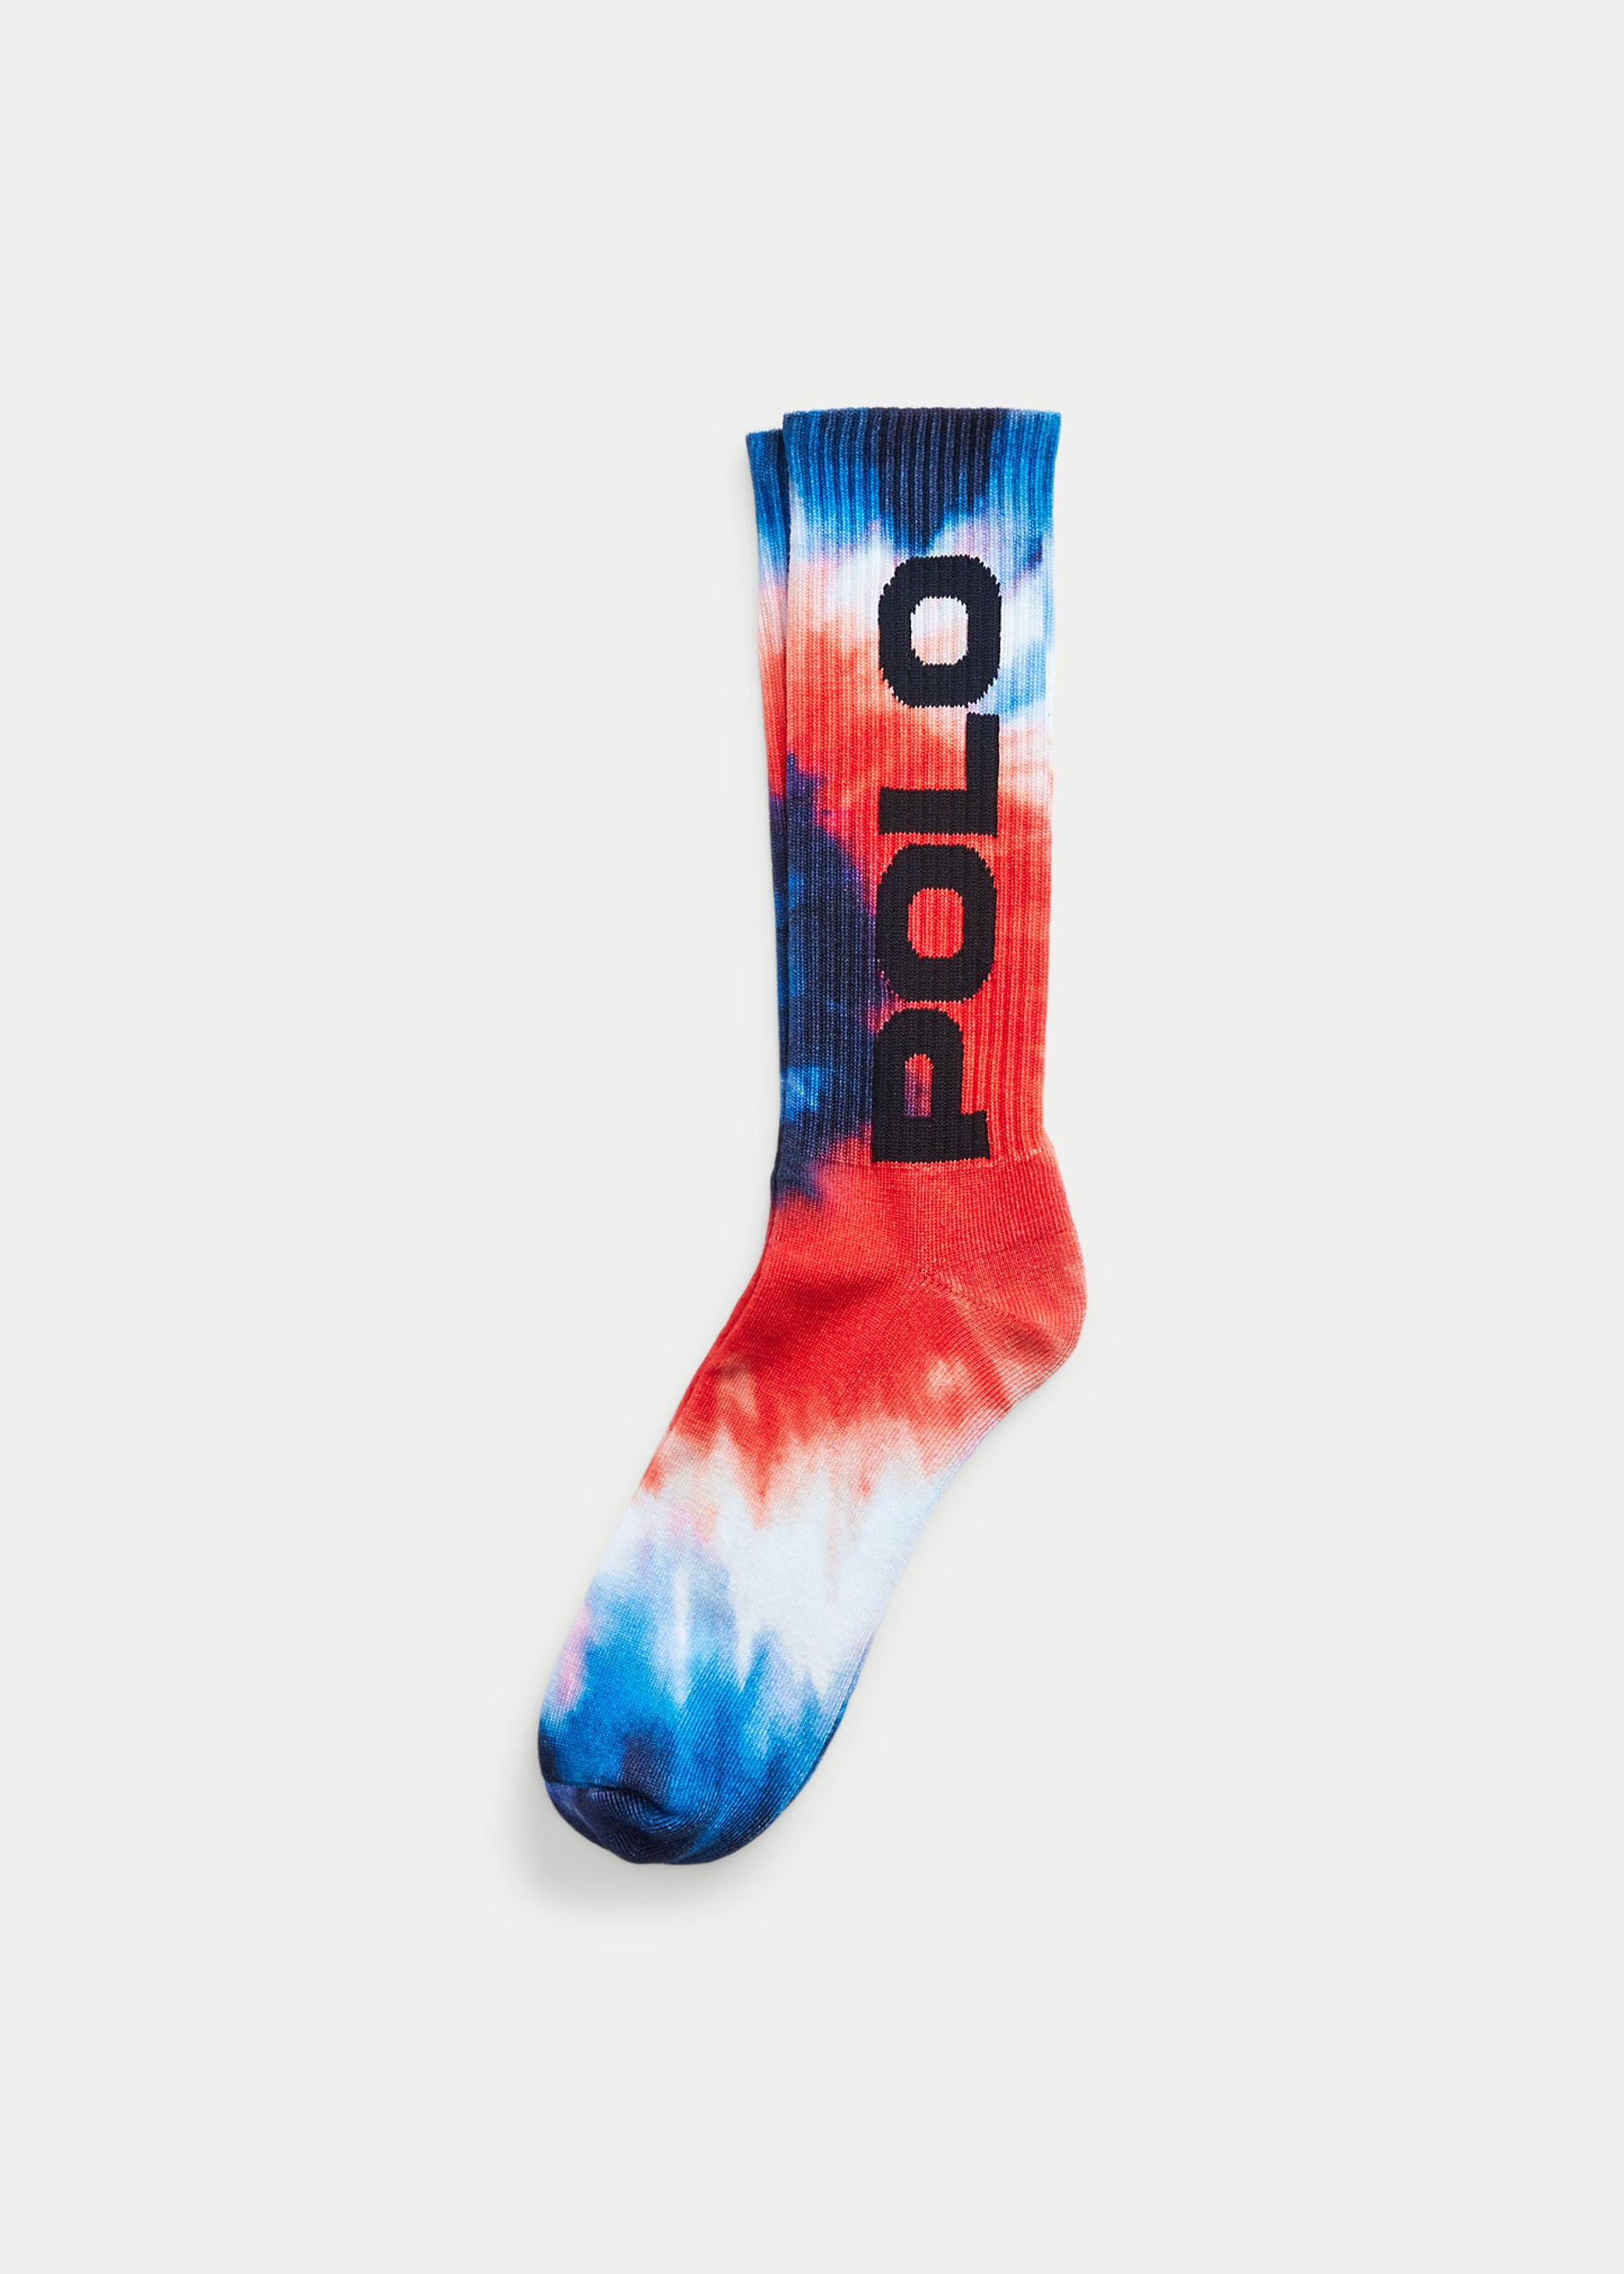
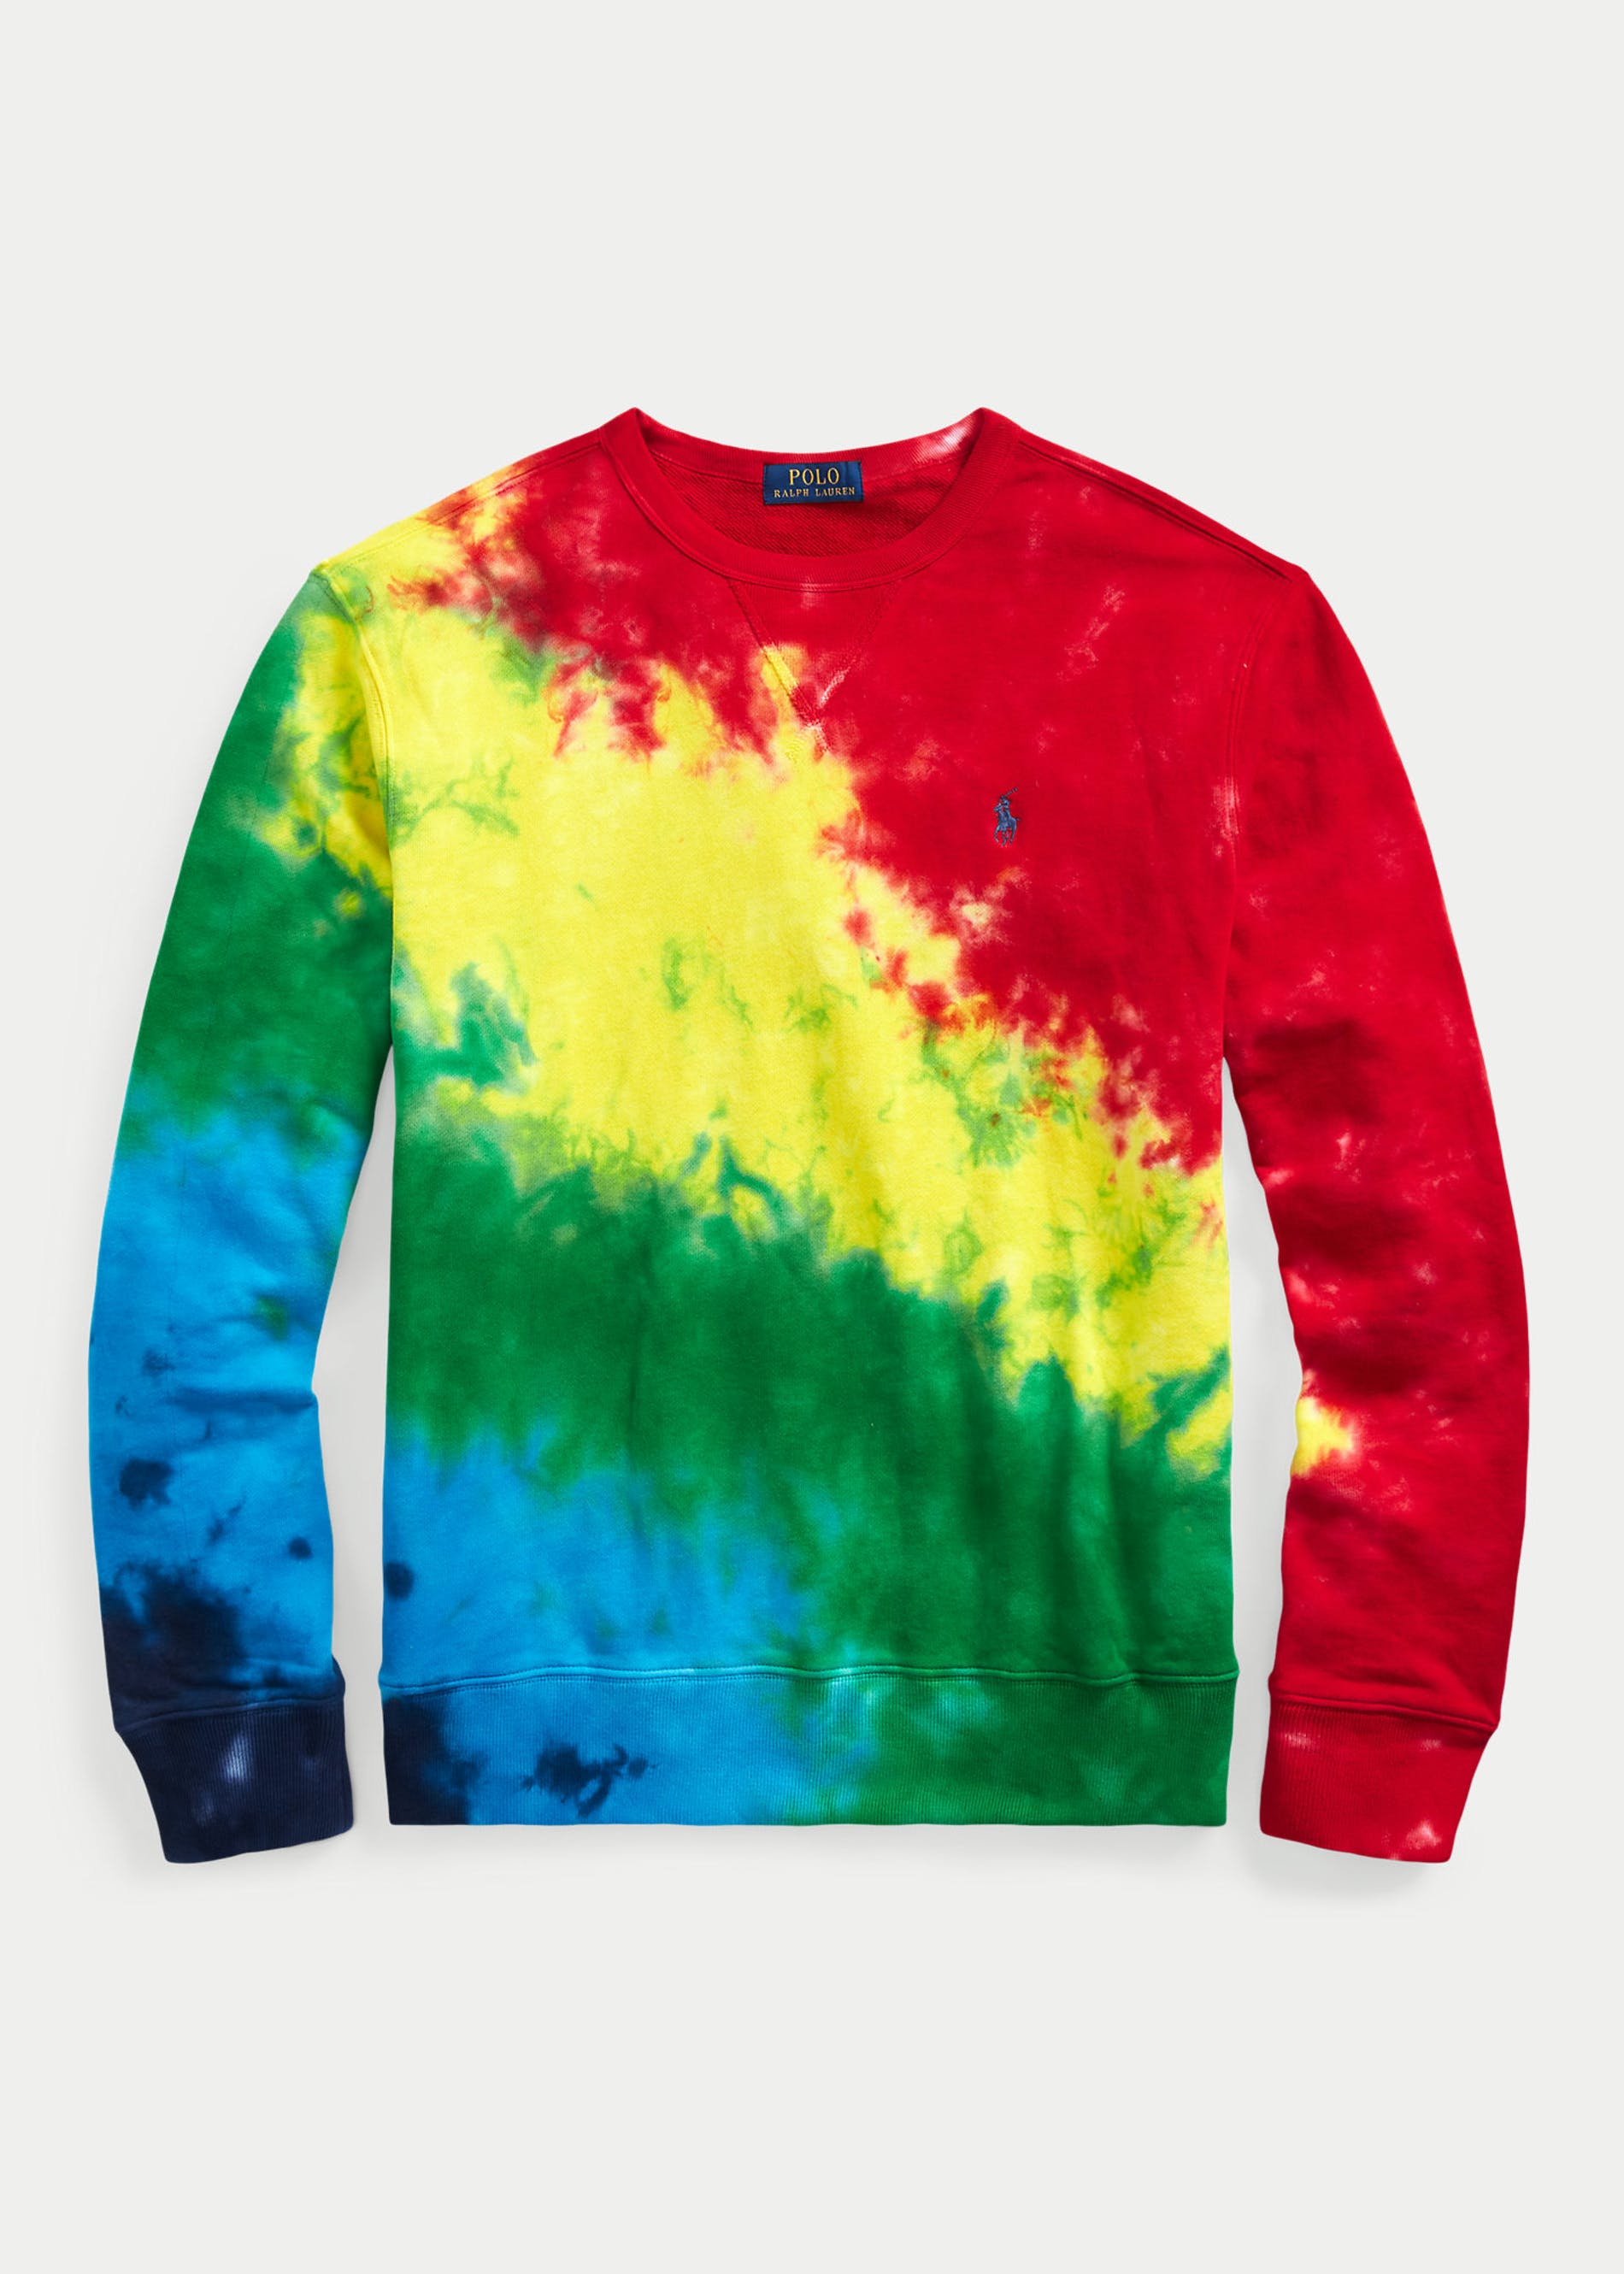
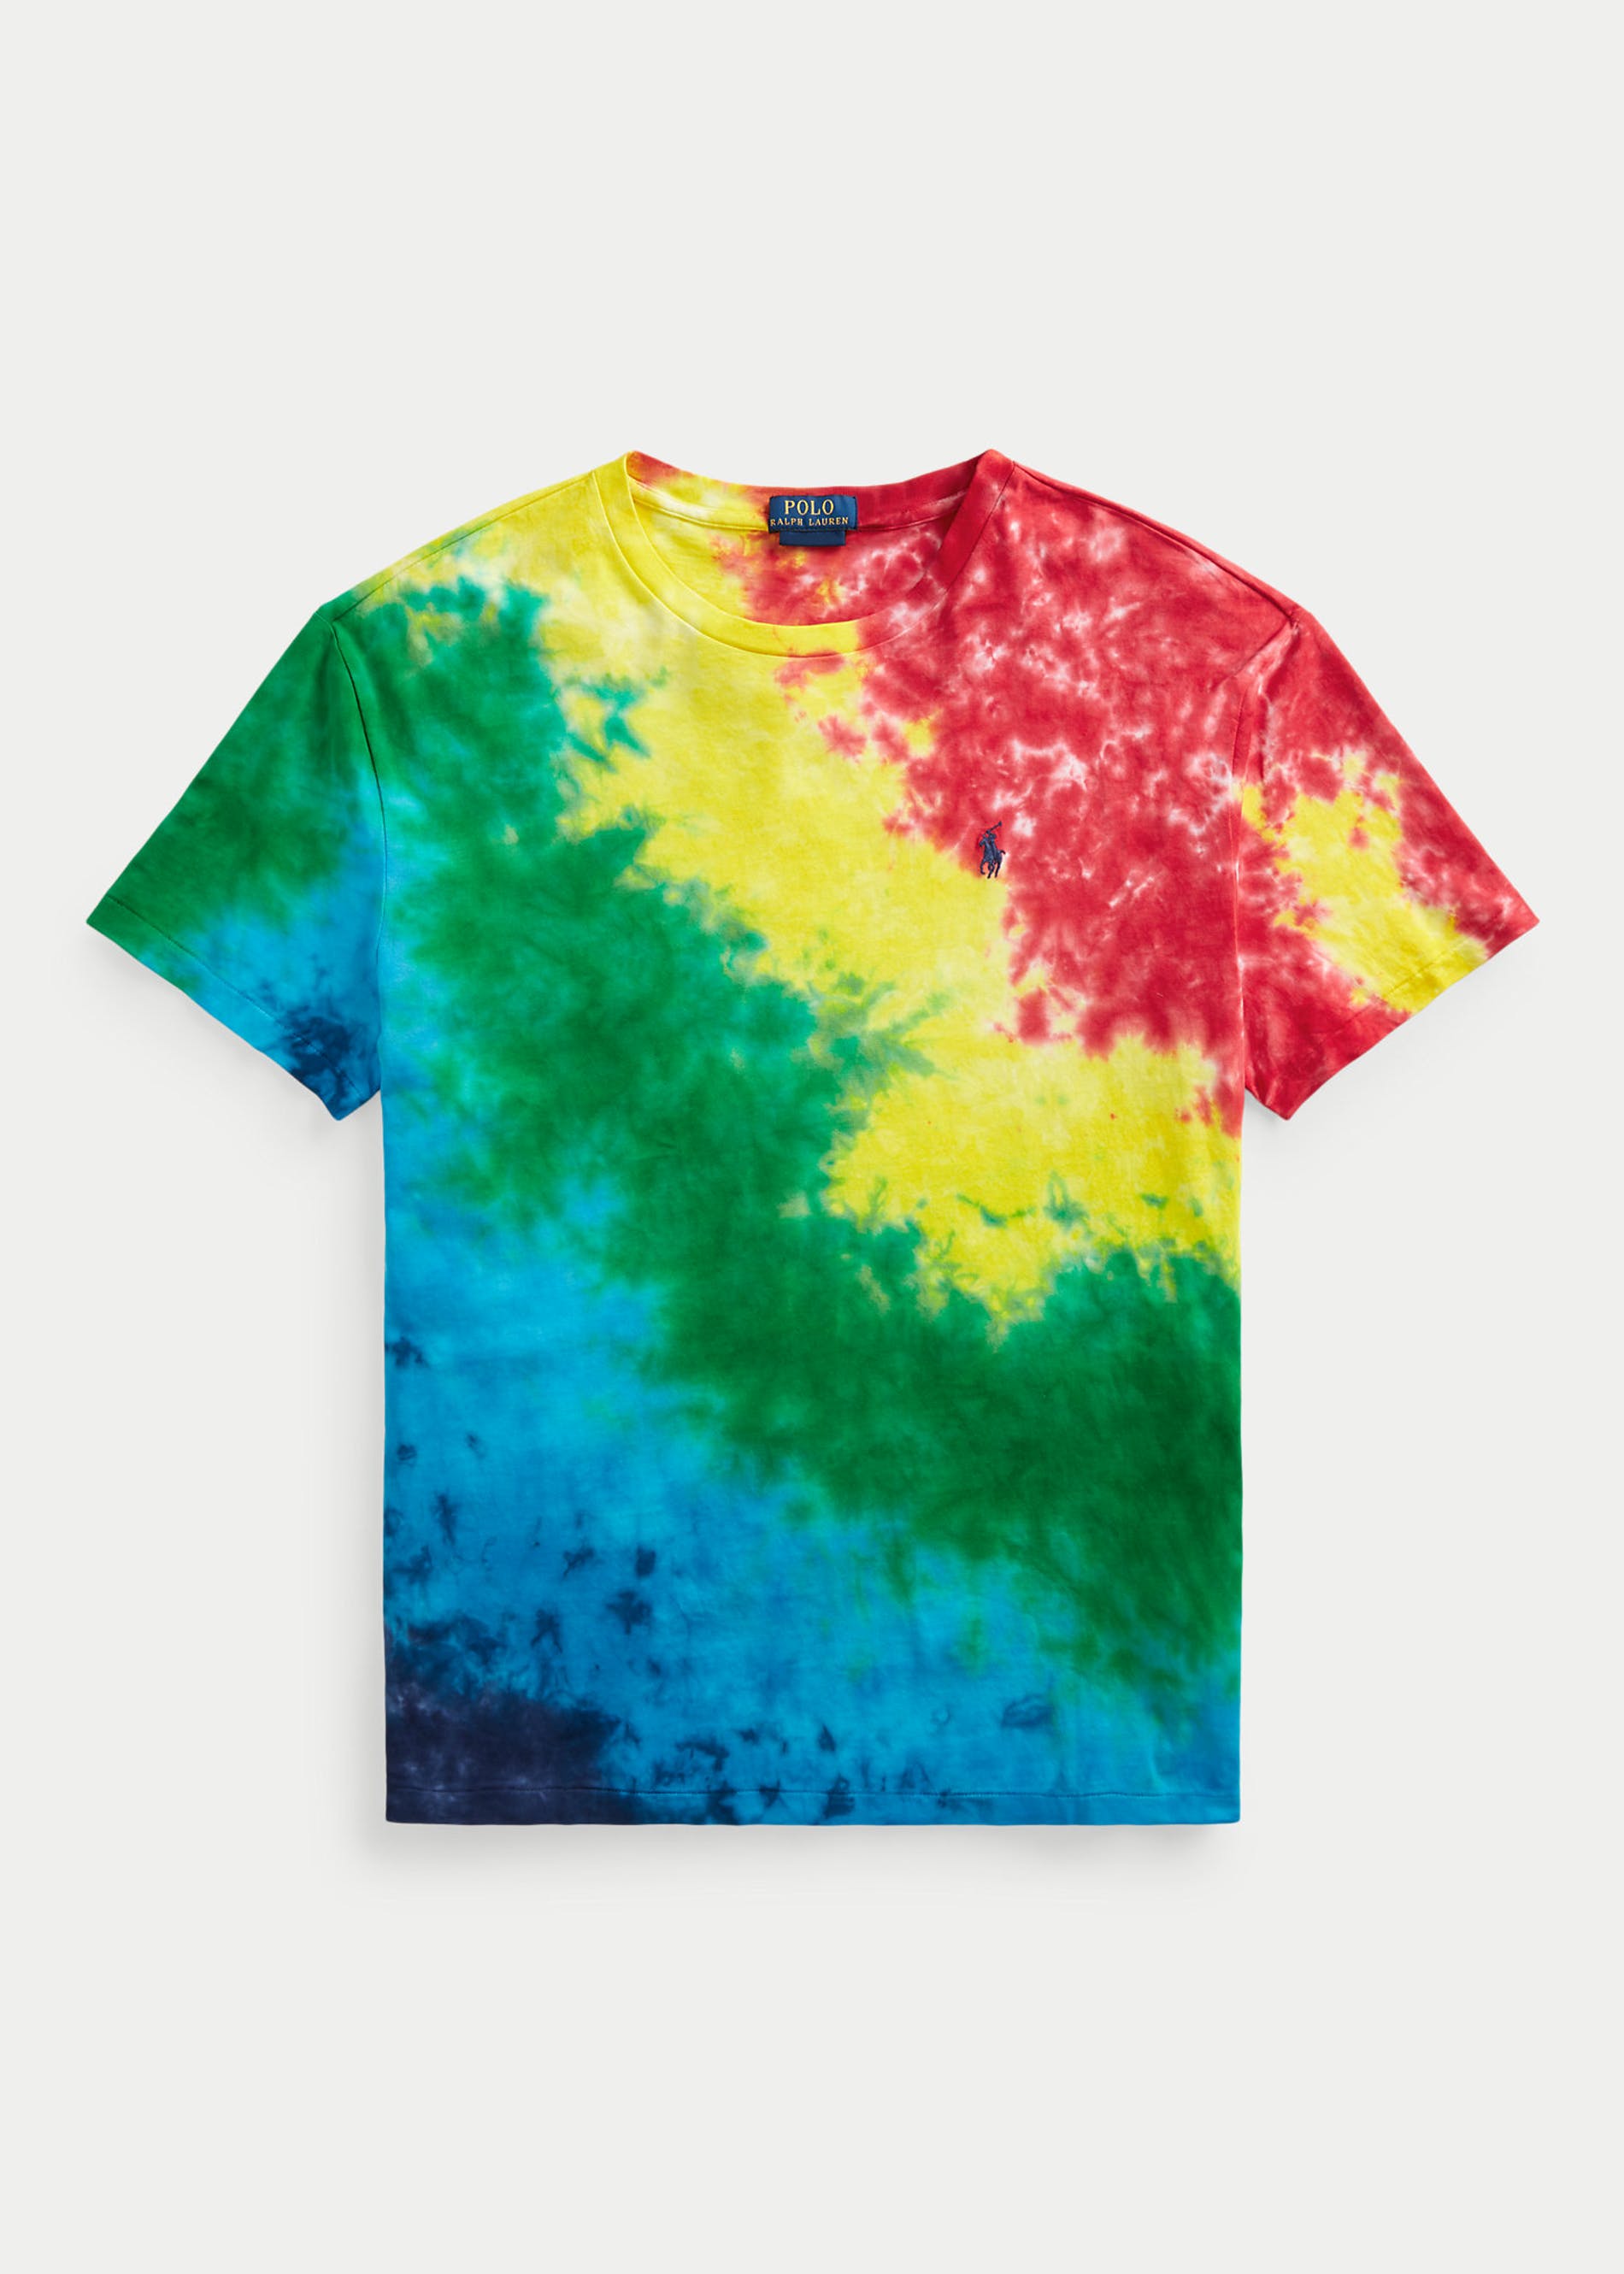
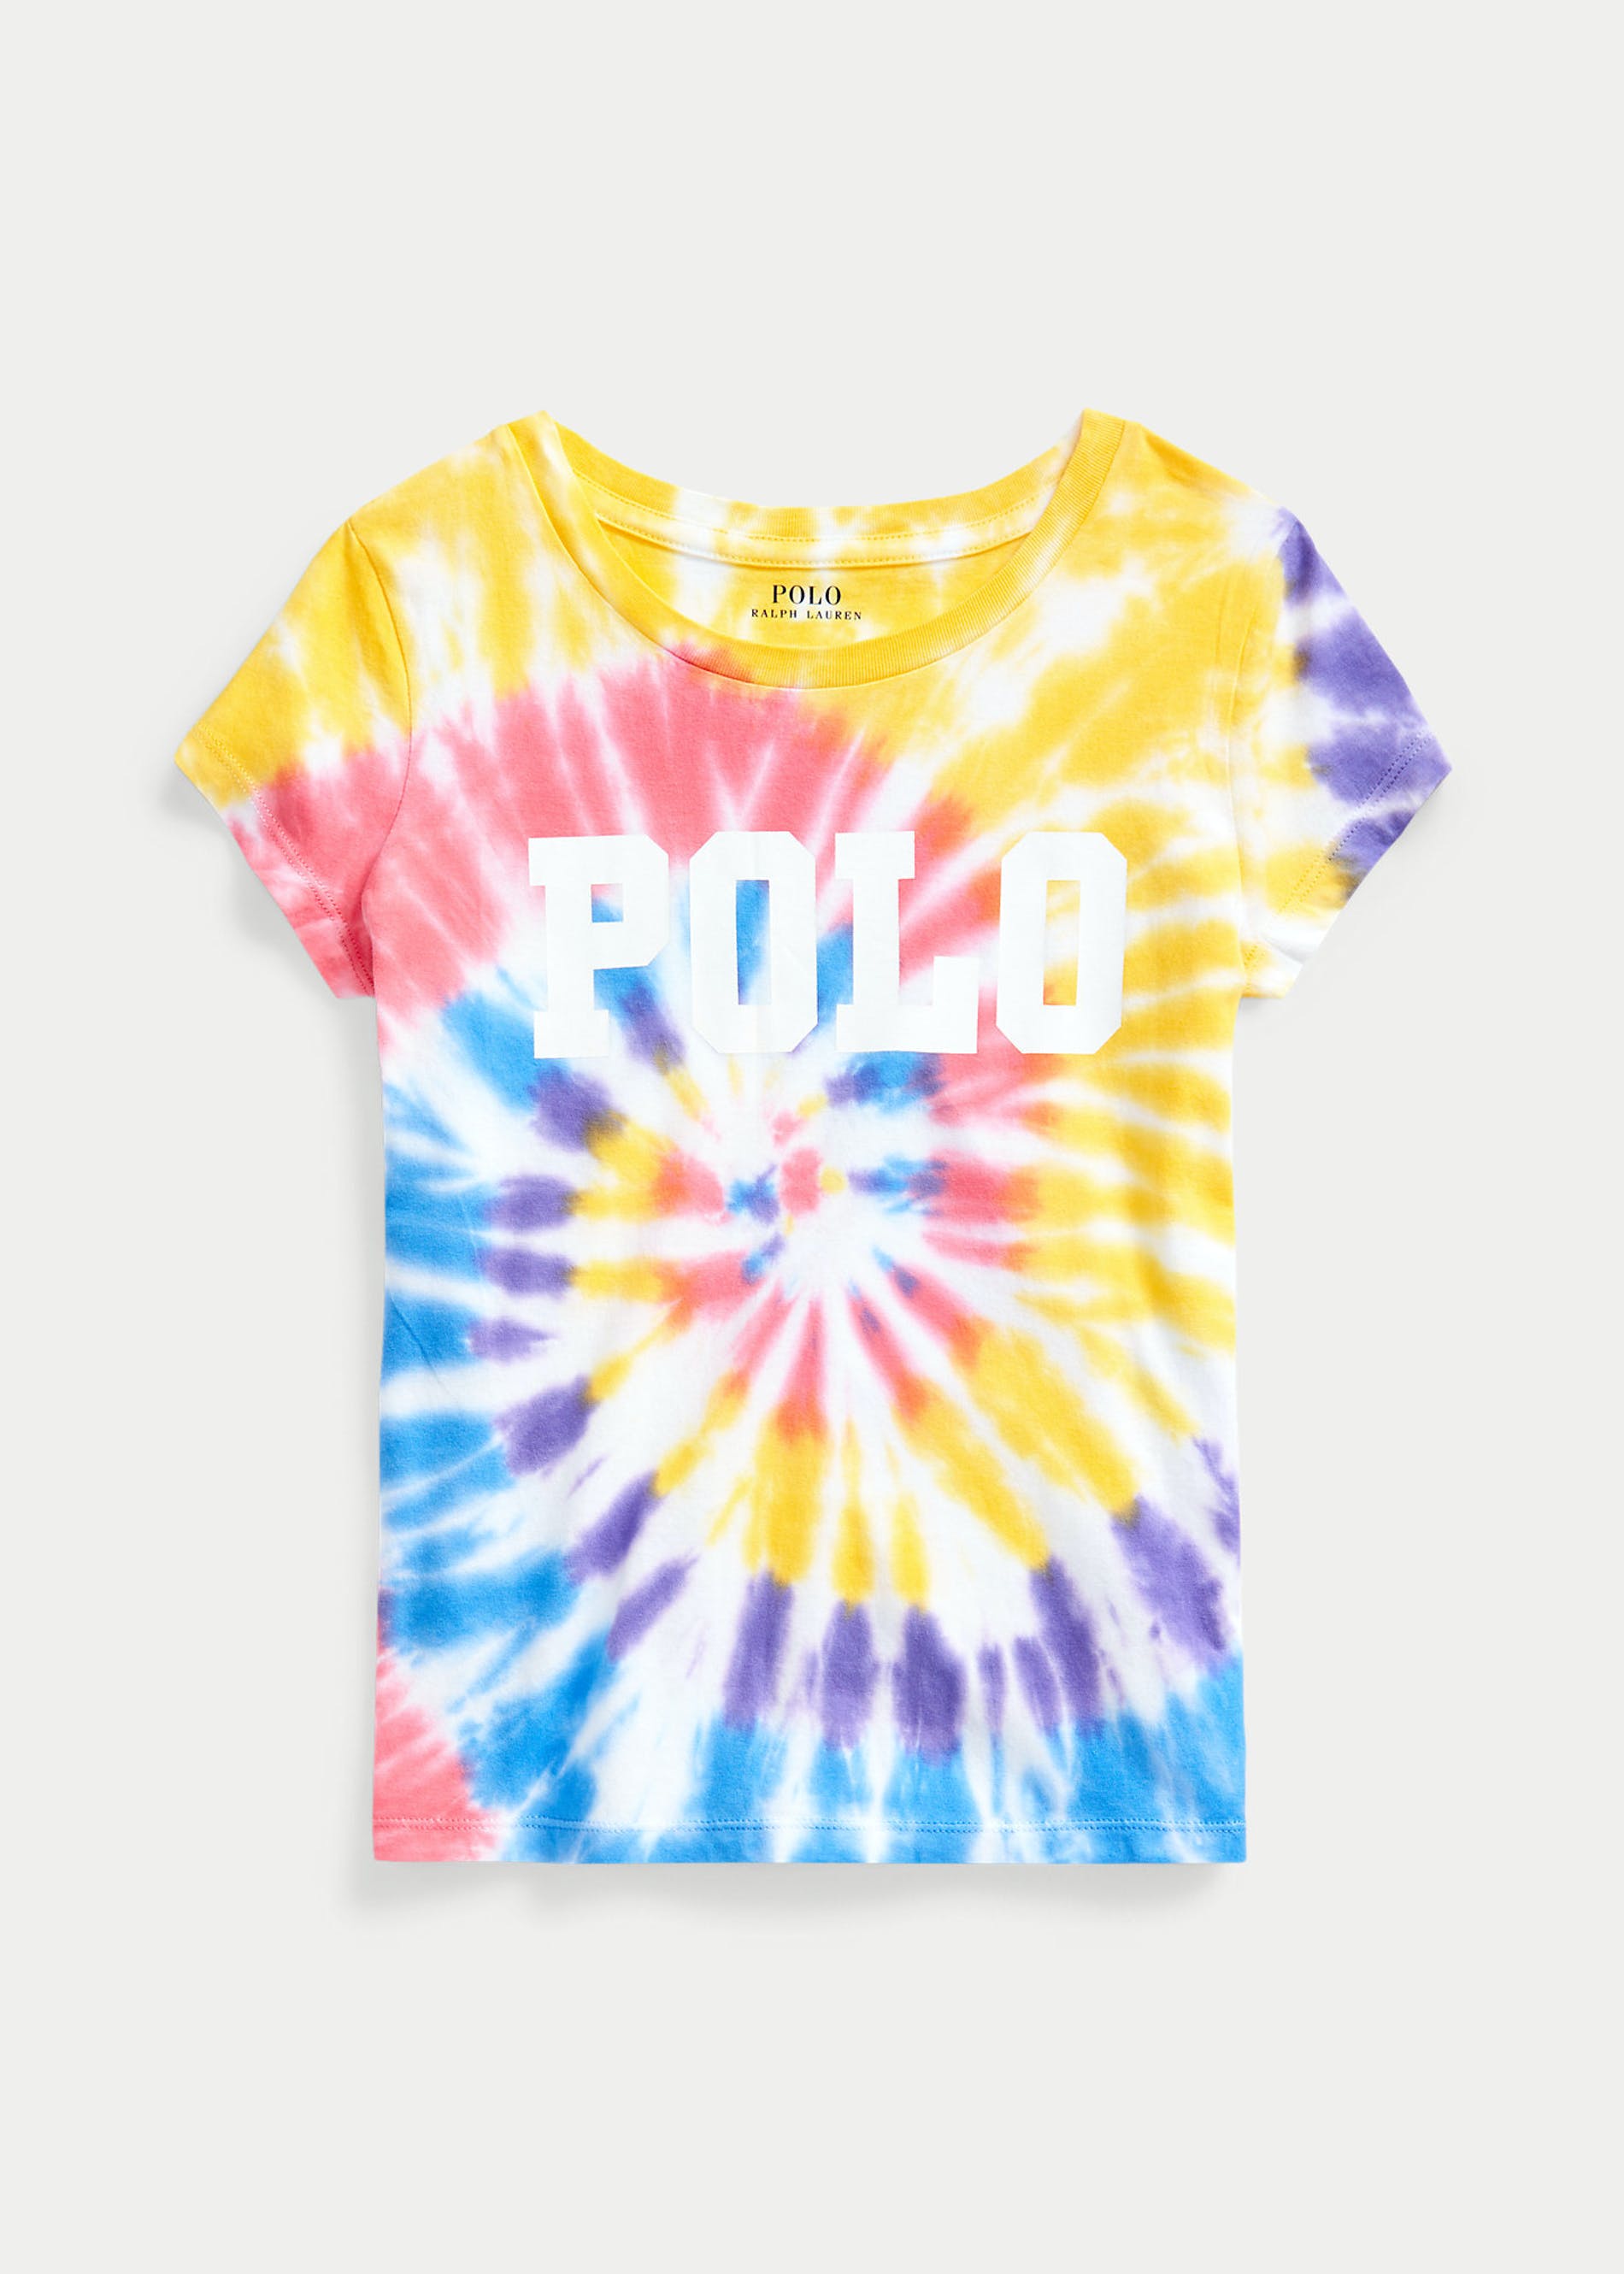
Try it on socks, T-shirts, oxford shirts, sweatpants, or hoodies for relaxing at home—and, of course, you can’t go wrong with a cotton mesh Polo shirt.
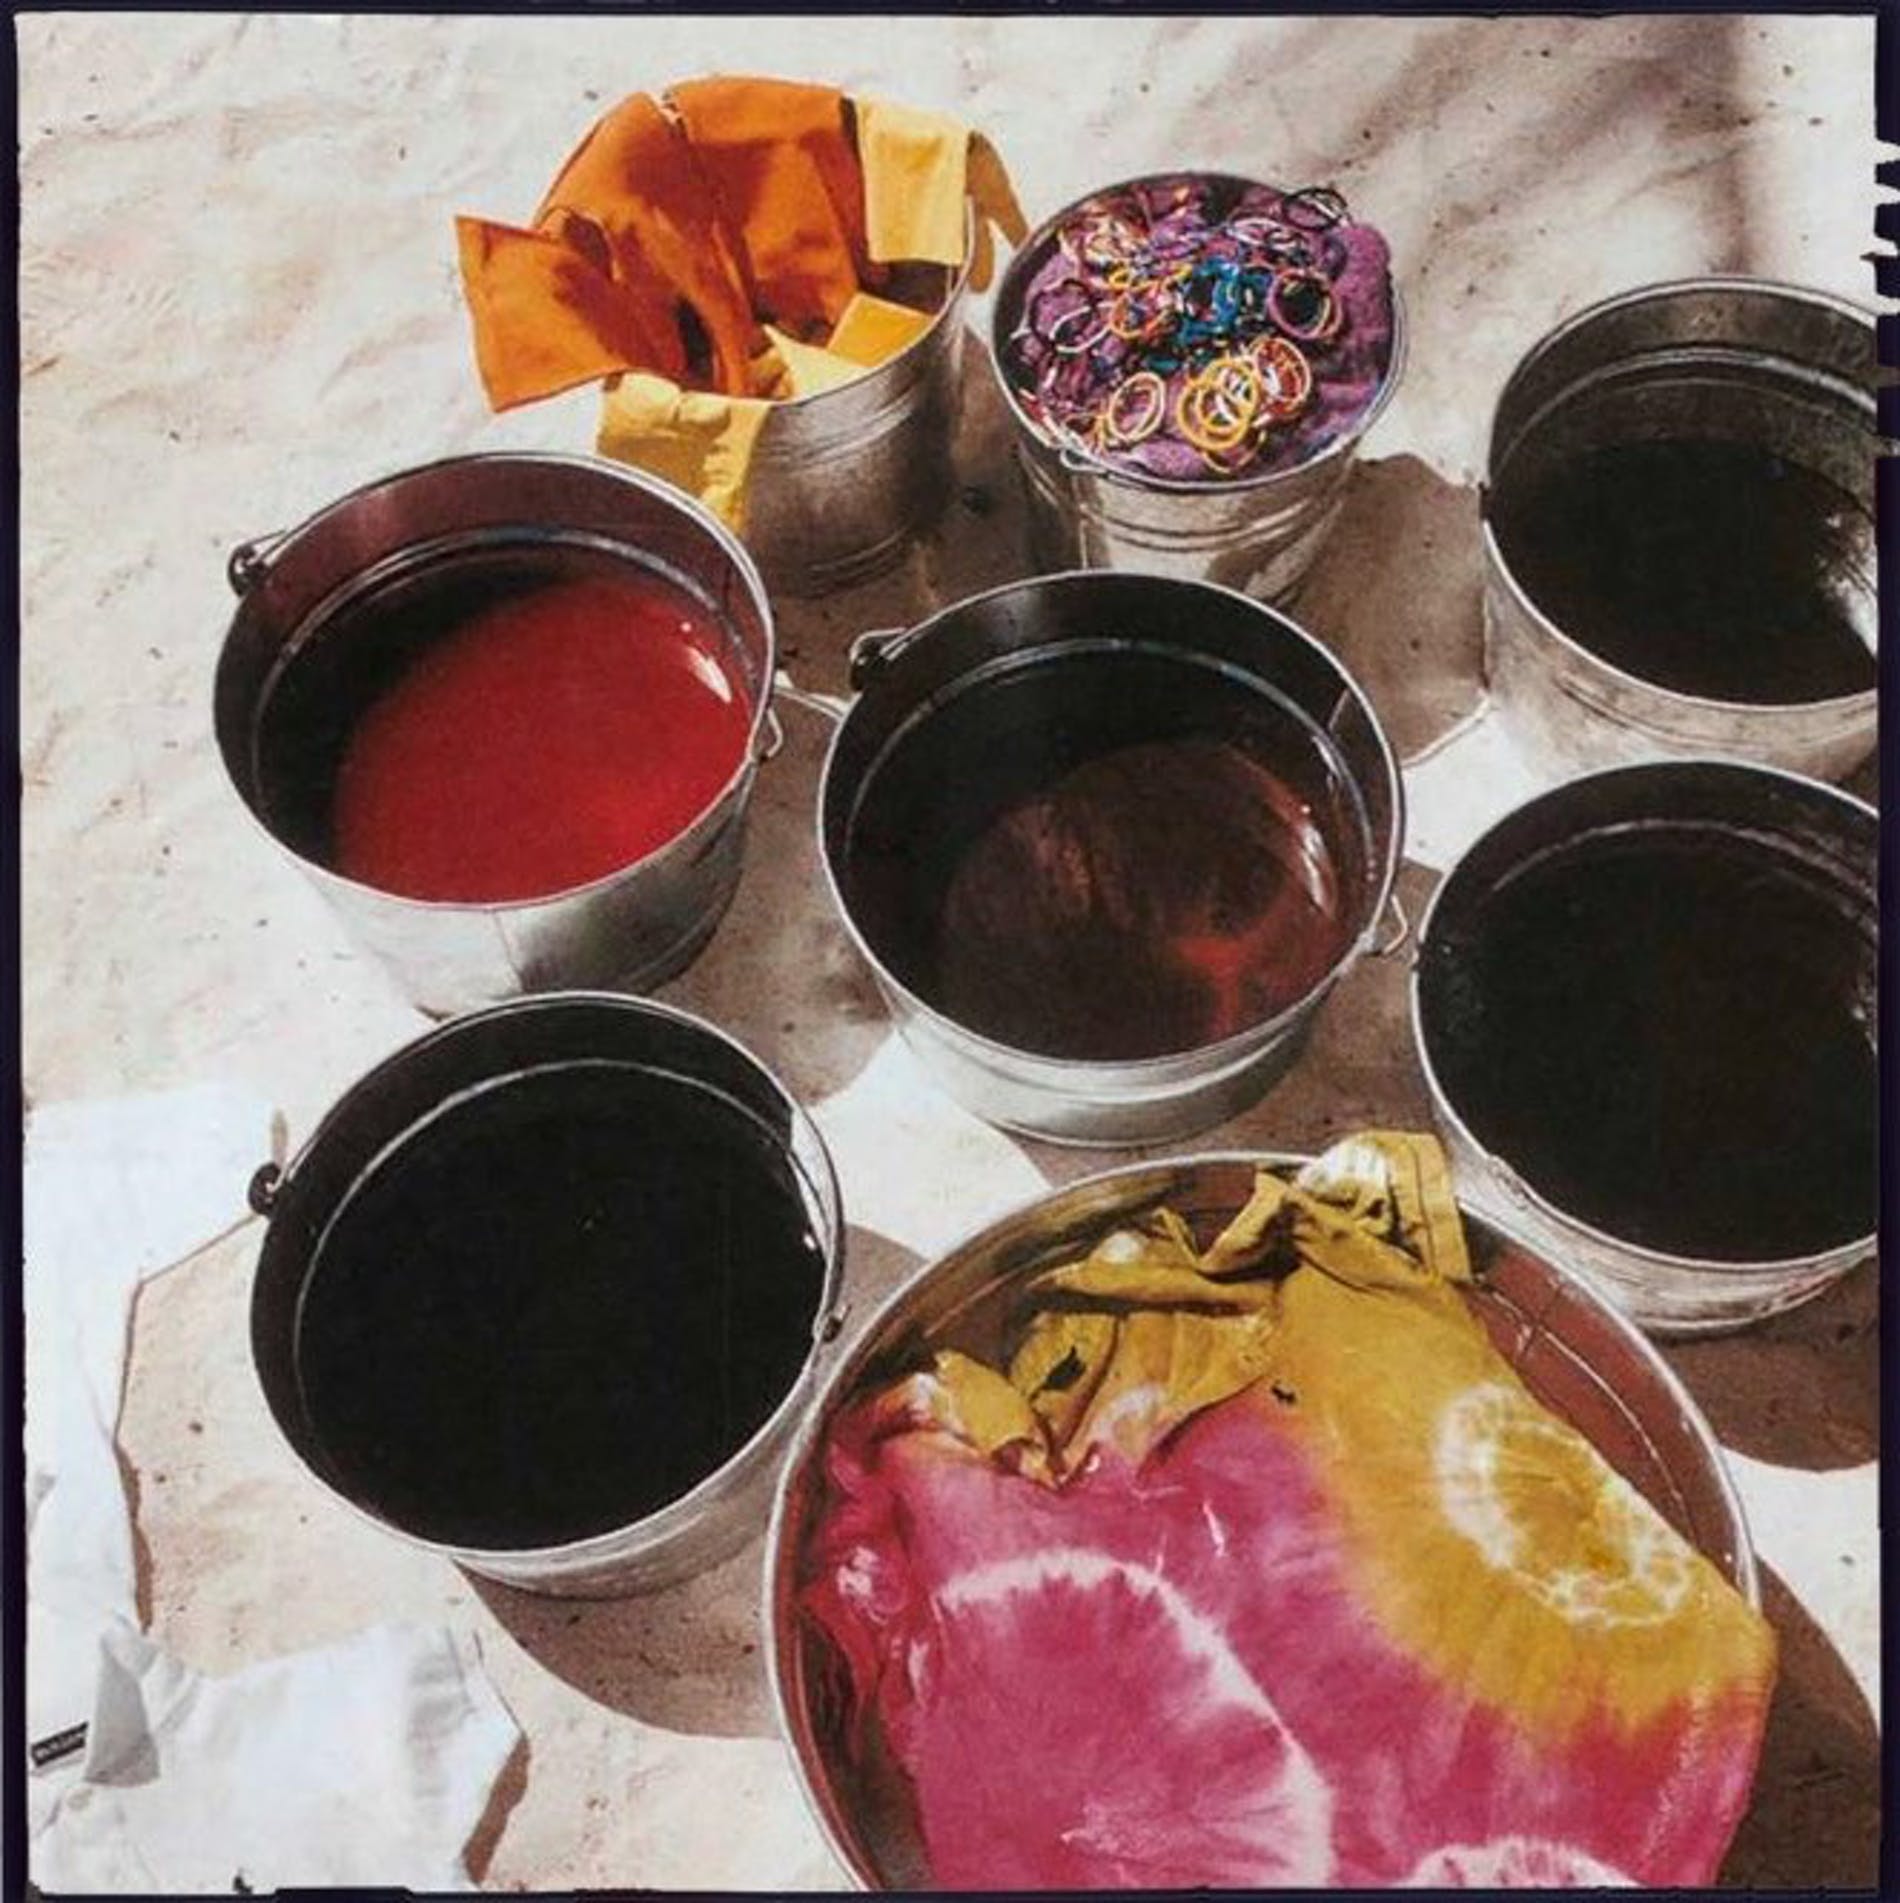
Step 3: The Setup
Prepare your dyes (each brand will have its own instructions), then soak your garments in warm water (with soda ash, if using) and gently wring them out — tie-dye works best when the fabric is damp, but not soaking wet. Put on your gloves and find a good space to work, like a bathtub, a large sink, or somewhere outside, and you’re ready to go.
Tip: If you have one, setting down a wire rack is helpful — it allows excess dye to neatly drip off your garment rather than pooling together on your work surface.
Step 4: Tie It Together
Grab your rubber bands and get to work!
Try the standard swirl pattern by inching the center of a T-shirt or Polo and spiraling it tight, then rubber-banding it together to form triangular cross-sections. Pinch small sections and wrap rubber bands tightly around them to create circle effects.
Or, bunch your garment together and apply your bands randomly to create an abstract design. Grab a few old tees—maybe even a sheet—and try just about anything else that comes to mind, and try to guess what the resulting pattern will be. Creativity is encouraged!
Step 5: Add the Dye
With your gloves on, grab your dye bottles and have at it!
Try mixing and matching different colors onto the different sections that your rubber-band pattern has created. Repeat on all sides of your garment.
Tip: A little bit of color blending is encouraged, but be careful—too much can muddy the overall
result.
Step 6: All Set …
Place your garments into individual plastic bags and let rest according to your dye’s instructions. Then, if you’re using a fixative, soak according to its instructions.
Then remove the rubber bands, unfold, and voilà—your new tie-dye!
Tip: Be sure to rinse each piece of tie-dye thoroughly, then machine wash individually at least once to wash out any excess dye and prevent it from spreading onto the rest of your laundry.

related posts